A straight-forward look at the technology behind professional sticker printing
Every custom sticker that ships from Stickers.com starts as a digital file and ends as a precision-printed, laminated product ready to apply to virtually any surface. Understanding how custom stickers are printed helps you prepare better artwork, choose the right material, and know exactly what to expect when your order arrives. This guide covers the three core technologies behind professional sticker printing: UV cured ink, CMYK color printing, and white ink for clear and transparent substrates.
The UV Printing Process: How Ink Bonds to Vinyl
The practical advantages for sticker production are significant. Because UV cured ink bonds at a molecular level to the surface of the material, it does not crack, peel, or fade the way solvent-based inks can over time. UV ink printing also produces extremely fine dot detail, which means sharp text, clean gradients, and accurate color reproduction even at small sticker sizes.
UV printed stickers also benefit from faster throughput. Instant curing means the material can be laminated, cut, and finished almost immediately after printing, which is part of why standard production at Stickers.com takes only 3 business days from proof approval to shipment.
For outdoor sticker applications, UV cured inks combined with a protective laminate create a waterproof, UV-resistant surface. Standard vinyl stickers are rated for up to 3-5 years of outdoor exposure, and premium vinyl extends that rating to 8 years. That durability makes UV printed stickers a practical choice for everything from product labels to vehicle graphics to hard-hat stickers.
CMYK Color Printing: How Full-Color Stickers Are Made
White Ink Printing: The Key to Clear Stickers That Actually Look Good
From File to Finished Sticker: The Complete Sticker Manufacturing Process
First, the submitted artwork is reviewed for resolution, color mode, bleed, and cut line accuracy. Files that do not meet technical specifications are flagged before printing begins to avoid color or trim issues in the final product.
Once the file is approved, it is sent to the printer. For UV printed stickers, the printer deposits CMYK inks (plus white ink where required) onto the vinyl substrate in a single pass or multiple passes depending on the design. The UV curing lamp follows immediately behind the print head, hardening each layer as it is laid down.
After printing, a protective laminate is applied over the ink surface. Glossy lamination produces a shiny, reflective finish that makes colors appear more saturated and vibrant. Matte lamination produces a low-glare, soft-touch surface with a more understated aesthetic. Both laminate types add scratch resistance and protect the ink from UV degradation and moisture.
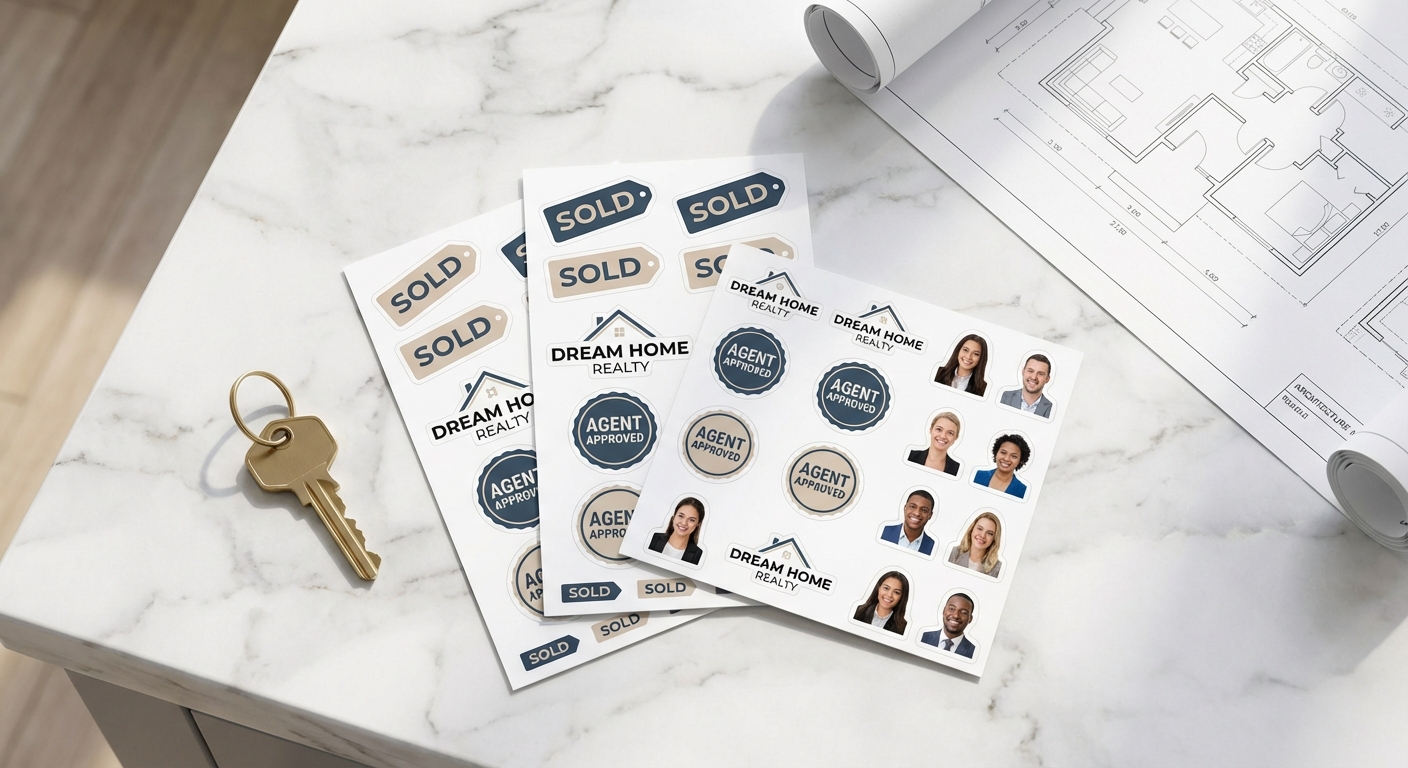
Cutting follows lamination. Die-cut stickers are cut precisely to the outline of the printed design, producing a sticker with no excess material around the edges. Kiss-cut stickers are cut only through the vinyl layer, leaving the backing intact for easy peeling. Custom cut sticker sheets can combine multiple designs on a single sheet with individual cuts for each element.
For customers new to sticker formats, the guide on what kiss-cut stickers are explains the difference between cut types in detail, which is useful when deciding which format suits your application.
Once cut, stickers are inspected, packaged, and shipped via FedEx or UPS. Standard production is 3 business days, with rush (2 business days) and express options available for time-sensitive orders.
UV Printing vs. CMYK vs. White Ink: What Each Technology Does
| Technology | What It Is | What It Affects | When It Matters |
|---|---|---|---|
UV Printing | Curing method that hardens ink using ultraviolet light immediately after it is deposited | Durability, scratch resistance, print sharpness, production speed | All sticker orders; UV curing is the standard production method for vinyl stickers |
CMYK Color Printing | Four-color ink model (Cyan, Magenta, Yellow, Black) used to reproduce full-color artwork | Color accuracy, gradient quality, photographic detail | Any order with multi-color artwork, photos, or complex graphics |
RGB vs. CMYK | Color mode difference between screens (RGB) and print (CMYK) | How closely printed colors match on-screen colors | File preparation; convert artwork to CMYK before uploading for most accurate results |
Common Questions About the Custom Sticker Printing Process
- What printing method is used to make custom stickers?
- Most professional custom stickers are produced on wide-format inkjet or UV flatbed printers using CMYK process color inks. UV printing is particularly common because the ink cures instantly under ultraviolet light, producing sharp, durable prints directly on vinyl, polyester, and other sticker substrates. The result is a finished product with rich color, clean edges, and strong adhesion to the material.
- What does CMYK mean and why does it matter for my sticker design?
- CMYK stands for Cyan, Magenta, Yellow, and Key (Black). It is the four-color ink model used in virtually all commercial and professional printing. When you design artwork on a screen, your monitor displays colors in RGB (Red, Green, Blue), which has a wider range of visible colors than what physical inks can reproduce. Converting your file from RGB to CMYK before submitting it ensures the printed colors match your expectations as closely as possible. Bright neon colors and some deep blues may shift slightly in CMYK, so proofing your file in a CMYK color space before uploading is always a good idea.
- Can you print white ink on clear stickers?
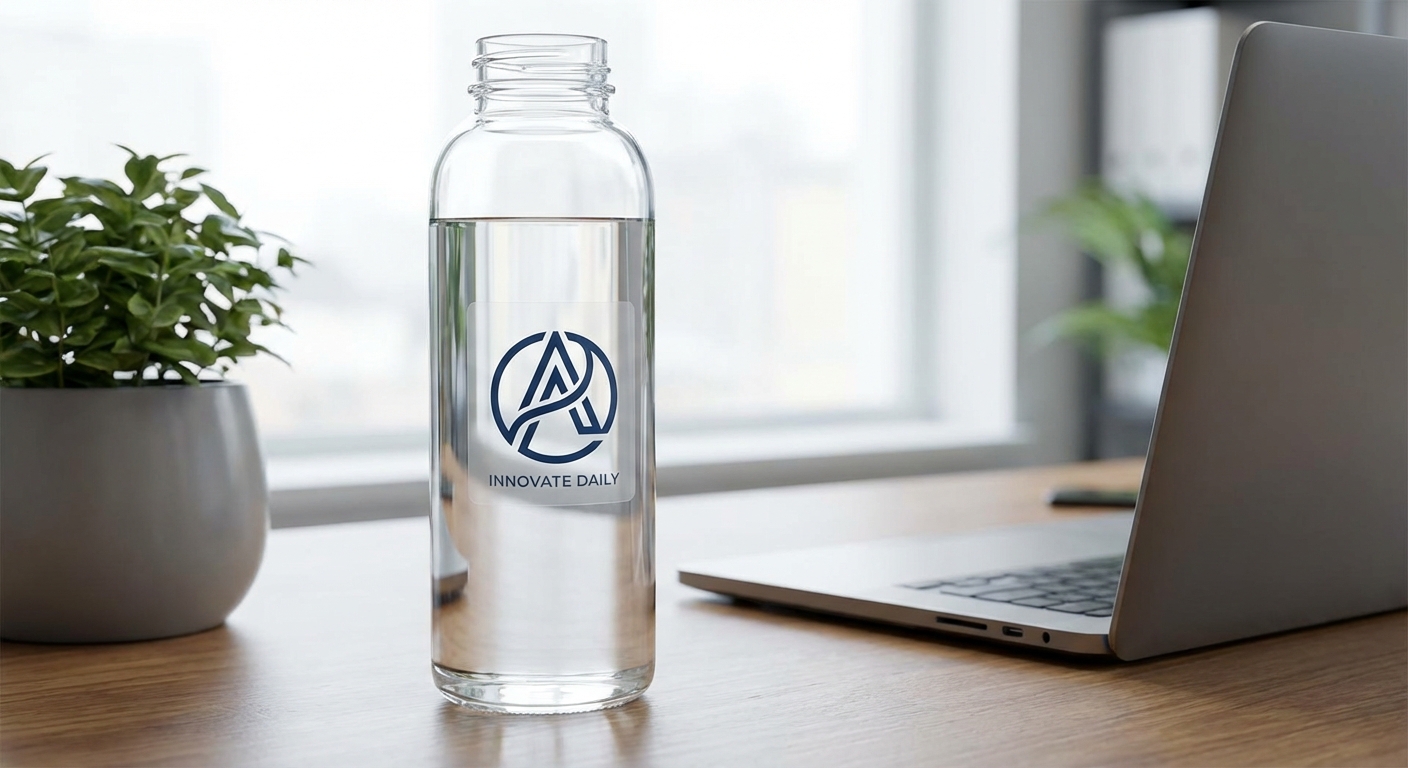
- Yes. White ink printing is essential for clear sticker orders. Because clear vinyl has no white base layer, any color printed directly onto it will appear translucent against whatever surface the sticker is applied to. A white ink underlay is printed beneath your color artwork to give colors proper opacity and vibrancy. Without it, a red logo on a clear sticker would look pink or nearly invisible on a dark background. White ink is also used as a standalone design element for minimal or typographic sticker designs on clear film.
- How long do UV printed stickers last outdoors?
- UV cured inks bond directly to the substrate and are inherently resistant to moisture and fading. Combined with a protective laminate, standard vinyl stickers carry up to a 3-5 year outdoor durability rating. Premium vinyl stickers are rated up to 8 years outdoors. Economy vinyl stickers are best suited for indoor applications like laptops and water bottles, where a 3-5 year lifespan with proper care is typical. The laminate layer adds scratch resistance and prevents UV degradation of the ink over time.
- What file format and resolution should I submit for sticker printing?
- Vector files (AI, EPS, PDF, or SVG) are ideal because they scale to any size without losing sharpness. If you are submitting a raster image (PNG or JPEG), the file should be at least 300 DPI at the final printed size. Files set up in CMYK color mode will produce the most accurate color output. If your file includes transparent areas and you are ordering clear stickers, make sure those areas are truly transparent (not white) so the clear material shows through as intended.
- What is the minimum order quantity for custom stickers?
- Stickers.com accepts orders starting at a single sticker, so there is no minimum quantity requirement. Bulk pricing tiers kick in at 50 units and above, with the per-unit cost dropping significantly as quantity increases. Common quantity breaks are 1, 10, 25, 50, 100, 250, and 1,000 units depending on the product.
- How long does it take to produce and receive custom stickers?
- Standard production is 3 business days. Rush production (2 business days) is available for an additional fee, and express options can reduce production further. Production time does not include shipping transit, which varies by FedEx or UPS service level and destination. If you have a deadline, factor in both production and transit time when placing your order.