Turn AI-generated designs into vector-ready, CMYK-accurate sticker print files that come out looking exactly like your screen preview.
Vector Artwork vs. Raster Artwork: What AI Tools Actually Generate
Prepping AI Artwork for CMYK Printing
Before uploading your file, convert it to CMYK in whatever software you're using to finalize the artwork, then review how the colors shift. This single step prevents most of the color surprises people run into with AI sticker artwork. It's also worth checking your design against the actual sticker material you're ordering. Glossy finishes tend to make colors pop slightly more than matte finishes, which give a flatter, more muted look. If you're printing on clear stickers, remember that any area without ink will show the surface underneath, so solid backgrounds behave differently than they would on opaque vinyl.
Resolution, Bleed, and Cut Lines for Print-Ready Sticker Files
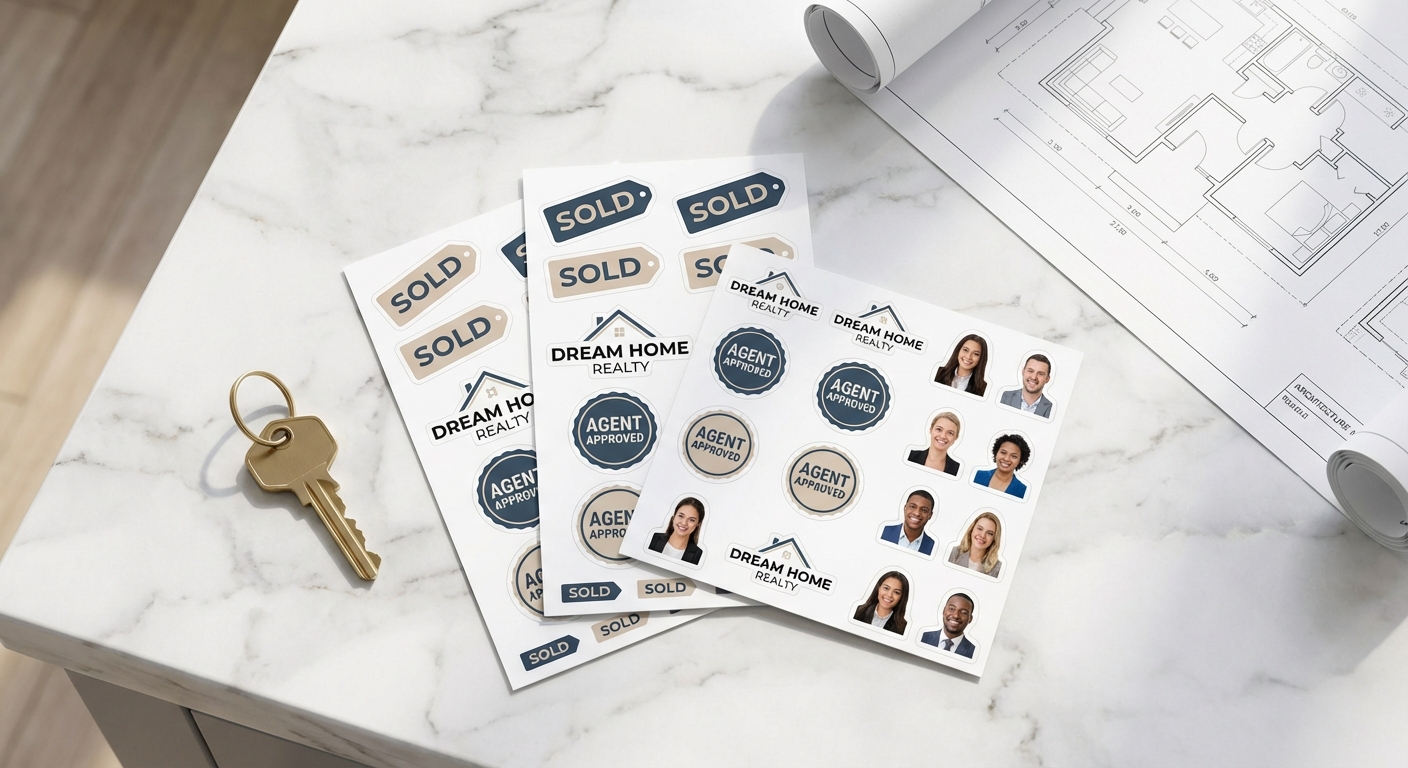
Bleed refers to extending your artwork slightly past the edge of your intended shape, generally about 1/8 inch, so there's no unprinted sliver if the cutting blade shifts by a fraction of a millimeter. For custom shapes, the cut line itself should follow the outer edge of your design closely, without slicing through important text or details. This setup is the same whether you're ordering a single die-cut sticker or a full page of designs like a custom cut sticker sheet. If your AI artwork has a busy or irregular background, transparent PNG export (rather than a flat white background) makes it much easier to generate an accurate cut line around the actual subject.
Common AI Artwork Mistakes That Delay Sticker Printing
File Format Comparison for Sticker Printing
| File Format | Type | Best For | Scalability | Notes |
|---|---|---|---|---|
AI (Adobe Illustrator) | Vector | Die-cut shapes, logos, sharp line art | Infinite | Preferred format for clean cut lines and custom shapes |
EPS | Vector | Universal print production files | Infinite | Widely accepted vector format across print software |
Vector PDF | Vector / Hybrid | Final print-ready sticker files | Infinite | Can combine vector shapes with embedded high-res raster elements |
SVG | Vector | Simple AI-generated icons and shapes | Infinite | Check for embedded raster data before relying on it as pure vector |
PNG (300+ DPI) | Raster | Photo-style or textured AI artwork | Fixed, must match final size | Requires transparent background for shaped stickers |
JPG | Raster | photographic artwork, generally inferior to PNG or TIFF files | Fixed | Compression can soften edges and text; not ideal for final printing |
AI Sticker Artwork: Common Buyer Questions
- What file format do I need to print stickers?
- For the cleanest results, upload vector files (AI, EPS, or vector PDF) for die-cut shapes and logos, and high-resolution PNG files (300 DPI or higher at final print size) with a transparent background for photo-style or AI-generated artwork. JPG files can work for reference but aren't ideal for a final print-ready sticker file because of compression artifacts around edges and text.
- Can I print my own custom stickers at home with a regular printer?
- You can print basic designs on a home inkjet or laser printer with sticker paper, but home printers use RGB color and typically lack the die-cutting, lamination, and UV protection that give commercial stickers their durability. For anything meant to survive weather, sun, or repeated handling, professional printing on materials like vinyl produces a longer-lasting result than a home setup.
- Does AI-generated artwork need to be converted before I upload it for printing?
- In most cases, yes. AI image generators produce raster artwork, which is made of pixels and can look soft or blurry once enlarged or cut into a shape. If your design needs a clean die-cut edge, it should be traced into vector artwork first. Our raster vs. vector breakdown explains the difference in more detail and when each file type actually works for printing.
- Why do my sticker colors look different from what I saw on screen?
- Screens display color in RGB, while sticker printing uses CMYK. Bright purples, neon greens, and some blues shift noticeably when converted from RGB to CMYK. Converting your AI artwork to CMYK before uploading, and reviewing a CMYK preview, helps you catch color shifts before your order goes into production instead of after.
- How much bleed or margin does my AI artwork need for die-cut stickers?
- For custom-shaped die-cut stickers, extend your background artwork about 1/8 inch past your intended cut line so there's no thin white sliver at the edge after cutting. Keep any text or important details at least 1/8 inch inside the cut line as a safety margin. Our die-cut sticker guide covers shape and layout basics if you're setting up your first custom shape.
- Do bulk sticker orders get a lower price per sticker?
- Yes. Single stickers and small batches are priced individually, but orders of 50 units or more move into tiered bulk pricing, which lowers the cost per sticker as quantity increases. This applies across die-cut, circle, and custom vinyl sticker styles, so it's worth ordering in bulk if you're stocking up for a shop, event, or product line.
- How fast can I get my AI-designed stickers printed and shipped?
- Standard production runs 3 business days once your print-ready sticker file is approved, not counting FedEx or UPS transit time. Rush and express production upgrades are available if you need stickers faster, and standard shipping typically adds a few additional business days depending on your location.