
Sticker placement tips and alignment tricks for a perfectly straight finish every time
Nothing ruins a great sticker design faster than a crooked application. A slightly off-center logo on a laptop, a bumper sticker with a tilted edge, or a sticker sheet with uneven spacing can make even high-quality artwork look sloppy. The good news is that applying stickers straight is a skill anyone can learn with the right technique and a few basic tools. This guide walks through proven methods for aligning stickers evenly, centering them on different surfaces, and avoiding the common mistakes that lead to crooked placement. Once you've got your custom stickers in hand, these steps will help you get a clean, professional result on the first try.
Common Questions About Applying Stickers Straight
- What's the easiest way to apply a sticker straight the first time?
- The masking tape hinge method is the most reliable technique for beginners. Position your sticker exactly where you want it while the backing is still on, then tape the top edge to the surface to create a hinge. Lift from the bottom, peel away a small section of backing, and press down while using the taped hinge as your guide. This keeps the sticker locked in position so it can't shift or rotate while you apply it.
- Do I need special tools to align stickers evenly?
- No expensive equipment is required. A roll of painter's tape, a ruler or level, and a credit card or squeegee for smoothing cover most jobs. For straight sticker application on flat surfaces like laptops or packaging, a level helps you set a true horizontal or vertical line before you commit to pressing the sticker down.
- How do I center a sticker on a product like a water bottle or laptop?
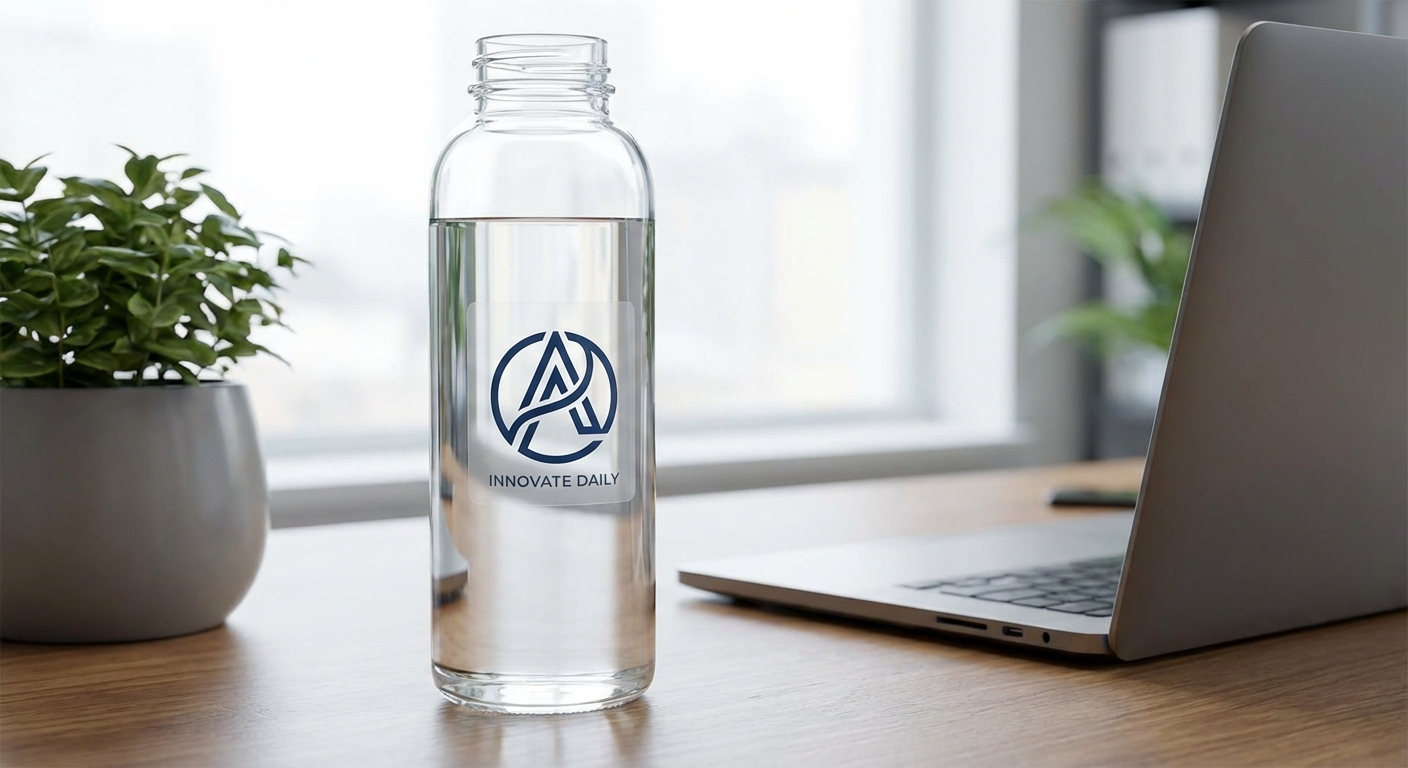
- Measure the width of both the sticker and the surface, then divide each in half to find the midpoint. Mark the center point lightly with removable tape or a dry-erase pencil, line up the sticker's center with that mark, and use the hinge method to lock it in place before peeling the backing. This approach works well whether you're centering a single die-cut design or positioning a logo on branded merchandise.
- What material should I choose if my sticker will be outdoors and needs to stay flat without curling?
- For outdoor use, Standard Vinyl or Premium Vinyl are better choices than Economy Vinyl. Both include UV, scratch, and moisture-protective lamination along with air release technology that pushes trapped air out during application, which helps the sticker lay flat and resist lifting at the edges. Premium Vinyl carries up to 8 years of outdoor durability, making it a solid option for car decals and equipment labels that see sun and weather.
- How much does it cost to order multiple stickers for a bulk project like team water bottles or packaging labels?
- Pricing scales down as quantity goes up. Orders of 50 or more qualify for tiered bulk pricing, which lowers the per-unit cost significantly compared to single orders. The minimum order is just 1 unit, so you can test a design before committing to a larger batch for a team, event, or product line.
- How fast can I get my custom stickers after I place an order?
- Standard production is 3 business days. If you need them sooner, rush options are available in as little as 1 business day depending on the product and finish selected. Keep in mind that production time is separate from shipping time, so factor both into your planning if you're working toward a deadline.
- How do I apply a full sheet of stickers without the designs shifting out of alignment?
- Lay the sheet flat on a hard surface and work one sticker at a time rather than peeling the entire backing sheet at once. Use a ruler as a straight edge guide if the designs are arranged in a grid. For more detailed tips on working with multi-design layouts, see our guide on how to use sticker sheets.
Step-by-Step: How to Apply Stickers Straight Every Time
Next, position the sticker exactly where you want it while the adhesive backing is still fully intact. This is your chance to check alignment without any risk of a permanent mistake. Use a ruler or level to confirm the sticker sits straight relative to an edge, seam, or centerline on the product.
Once you're happy with the placement, tape the top edge of the sticker to the surface using painter's tape. This creates a hinge that holds your position steady. Lift the bottom of the sticker, peel back a couple of inches of the backing paper, and press that section down firmly, working from the center outward to push out air as you go. Continue peeling and pressing in small sections until the entire sticker is applied.
For a deeper walkthrough with photos and additional troubleshooting tips, check out our full breakdown on how to install a sticker. This method works for everything from a single laptop decal to a row of die-cut stickers applied across packaging or product boxes.
Positioning and Centering Stickers on Different Surfaces
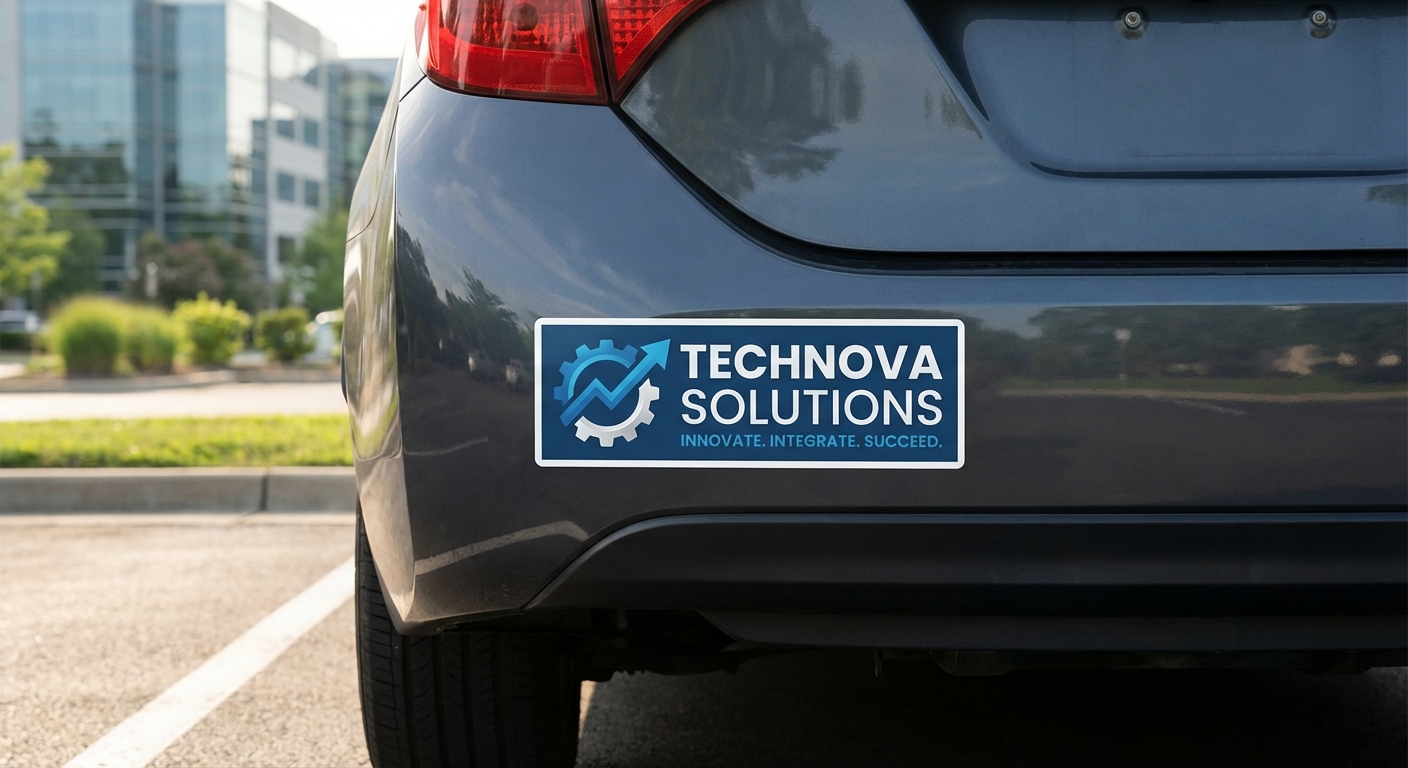
Can I stick a sticker on my car? Yes, vinyl stickers and decals are commonly applied to bumpers, rear windows, and body panels, as long as you choose a material rated for outdoor and automotive use. Standard Vinyl and Premium Vinyl are both built with UV and moisture-resistant lamination designed for this kind of exposure. For straight sticker application on a car, use strips of painter's tape as horizontal and vertical reference lines on the body panel before placing the decal, and work slowly so the sticker doesn't fold back on itself. Our car window stickers guide covers surface prep and placement specifics for vehicles in more detail.
Is there a difference between a decal and a sticker? In everyday use, the terms are often interchangeable. Both refer to adhesive-backed graphics, but "decal" is sometimes used specifically for larger vinyl graphics applied to vehicles, windows, or walls, while "sticker" more commonly describes smaller peel-and-stick designs for laptops, bottles, and packaging. The application principles are the same either way: clean surface, careful alignment, and steady pressure.
For glass surfaces like storefront windows or car windows, clear backgrounds can make alignment trickier since there's less contrast to judge straightness by eye. Our comparison of clear stickers vs. window clings explains how each option behaves differently during application, which is useful to know before you commit to a placement.
How to Keep Stickers Flat and Bubble-Free
For larger decals, like big vinyl graphics for windows or vehicle panels, the wet application method is worth learning. Spray the surface and the back of the sticker lightly with a mix of water and a few drops of dish soap. This lets you slide the decal into position without it sticking prematurely, then squeegee out the water and air together once it's aligned. This method is especially useful for wall graphics and large format decals, similar to the techniques covered in our guide to how to install wall stickers.
If a small bubble does appear after application, a pin or needle can pop it. Prick the bubble at a slight angle, then press the air out toward the hole with your finger or a squeegee. Materials with air release technology, found in Standard Vinyl and Premium Vinyl, are engineered to reduce this issue from the start by letting trapped air escape through microchannels in the adhesive.
Which Alignment Method Should You Use?
Different projects call for different techniques. Here's a quick comparison to help you pick the right approach for your sticker size and surface.
| Method | Best For | Tools Needed | Skill Level |
|---|---|---|---|
| Masking Tape Hinge Method | Single stickers on laptops, bottles, helmets | Painter's tape, ruler | Beginner friendly |
| Wet Application (Soapy Water) Method | Large decals, car windows, storefront glass | Spray bottle, dish soap, squeegee | Intermediate |
| Grid / Ruler Guide Method | Multiple stickers in a row, packaging labels | Ruler, level, pencil or painter's tape | Beginner friendly |
| Freehand Placement | Small novelty stickers with no precision needed | None | Easy, but less precise |
Custom Stickers Built for Clean, Straight Application
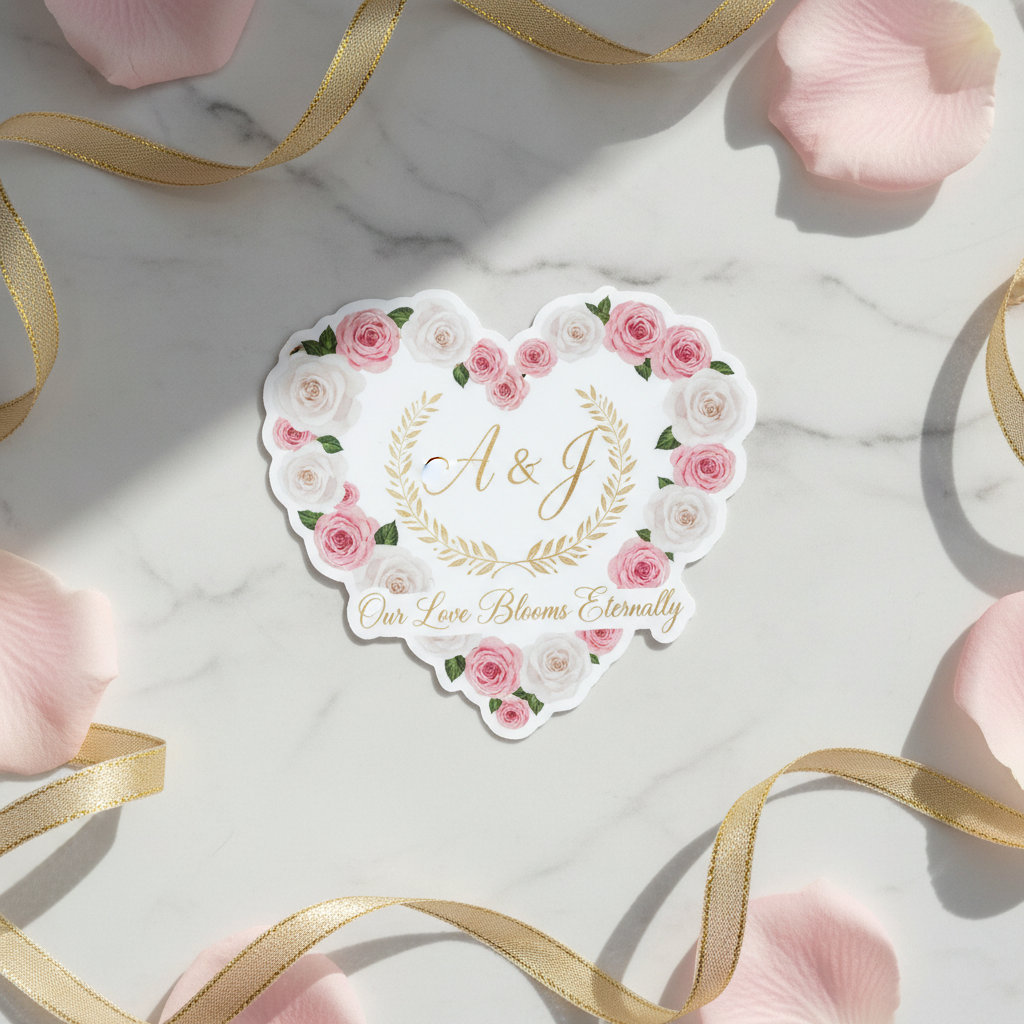
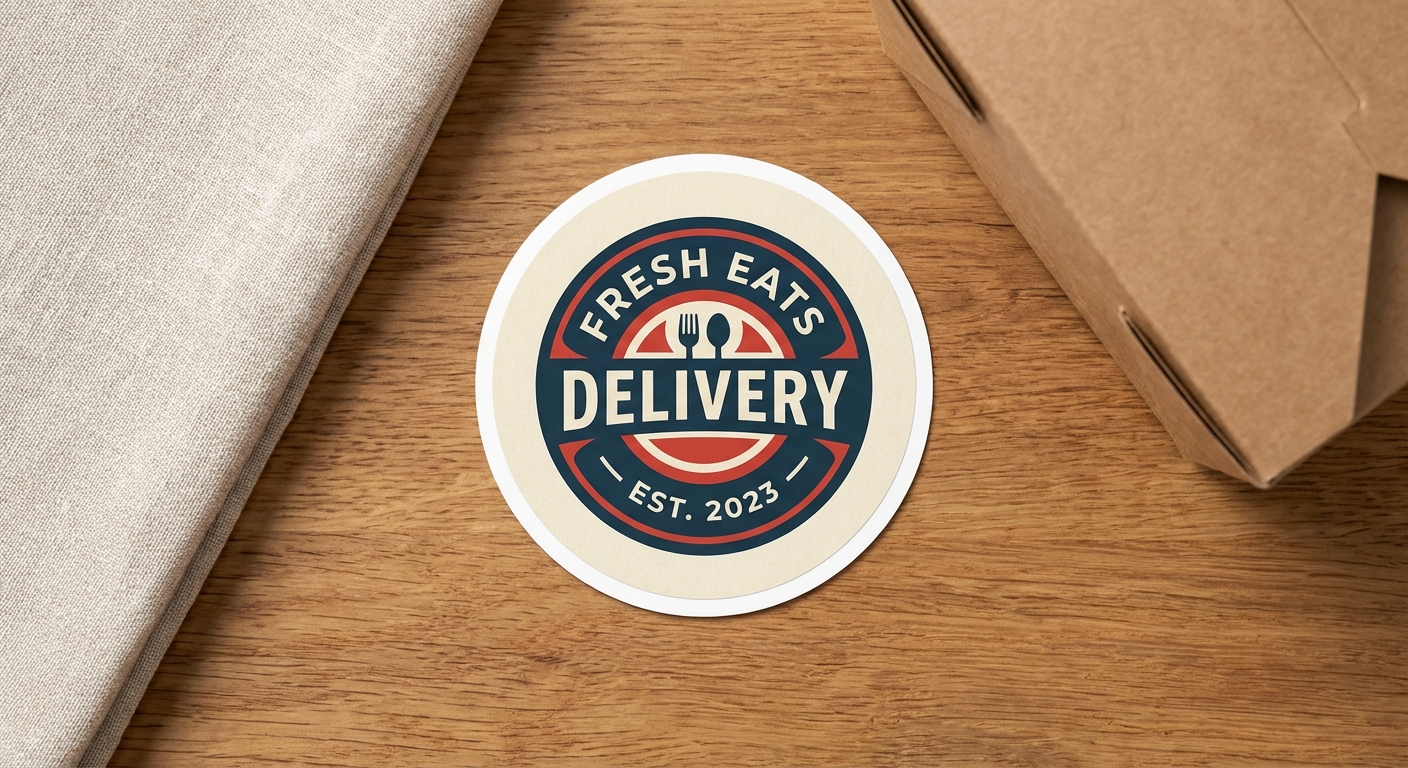
The right material and cut style make straight application easier from the start. Here are a few popular options to consider for your next order.

Ready to Apply Stickers Like a Pro?
Order custom stickers printed on durable, air-release vinyl designed for a clean, straight application every time. Choose your size, material, and finish, and we'll print and ship your order directly to you.
Shop Custom Stickers