A practical guide to the sticker safe zone, bleed, and cut line for clean, professional results
Every custom sticker order runs through a cutting machine with its own small tolerance, which means artwork placed too close to the edge can get clipped or shifted. The sticker safe zone is the margin inside your cut line where text, logos, and important details stay protected from that variance. Whether you're printing die-cut stickers, kiss-cut sheets, or circle stickers, understanding safe zones, bleed, and sticker margins before you upload your file is the difference between a sticker that looks exactly as designed and one with a cropped edge or stray white line.
Why Bleed, Safe Zone, and Cut Line Matter
Sticker Safe Zone Guidelines by Product Type
Preparing Print-Ready Files
Safe Zone and Bleed Requirements by Sticker Type
Recommended margins vary by product and shape. Use this as a starting reference, then adjust inward for any sharp corners or thin design elements.
| Sticker Type | Recommended Bleed | Recommended Safe Zone | Design Notes |
|---|---|---|---|
| Die-Cut Stickers | 1/8" beyond cut line | 1/8" inside cut line | Follow the custom shape outline; add extra inset on points and thin sections |
| Kiss-Cut Stickers | 1/8" beyond cut line | 3/16" inside cut line | Account for both the shape cut and the surrounding backing sheet |
| Custom Cut Sticker Sheets | 1/8" per sticker | 1/8" to 3/16" per sticker | Each design on the sheet needs its own bleed and safe zone |
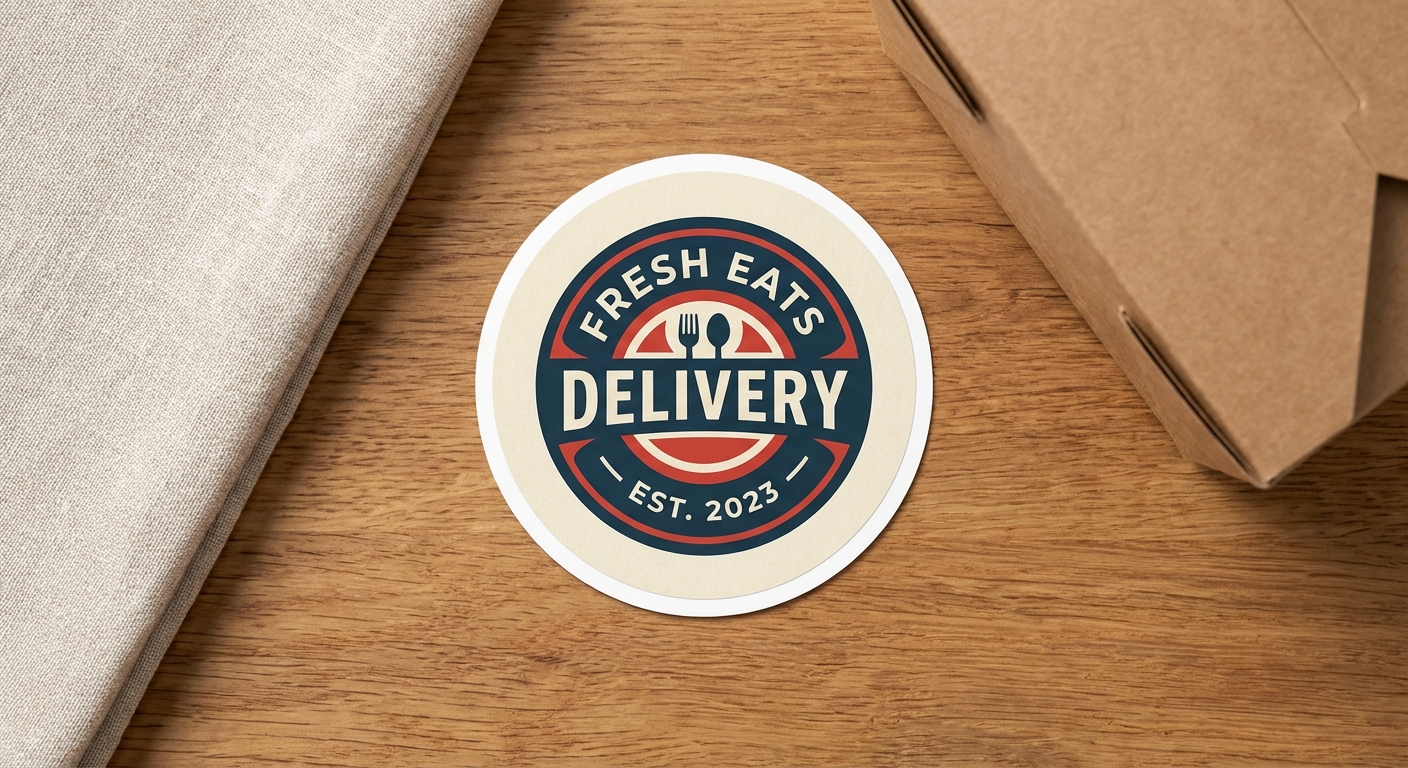
| Circle Stickers | 1/8" beyond circle edge | 3/16" inside circle edge | Curved edges visually crop more; keep text closer to center |
| Bumper Stickers | 1/8" beyond cut line | 1/4" inside cut line | Long horizontal format; avoid placing text near the far corners |
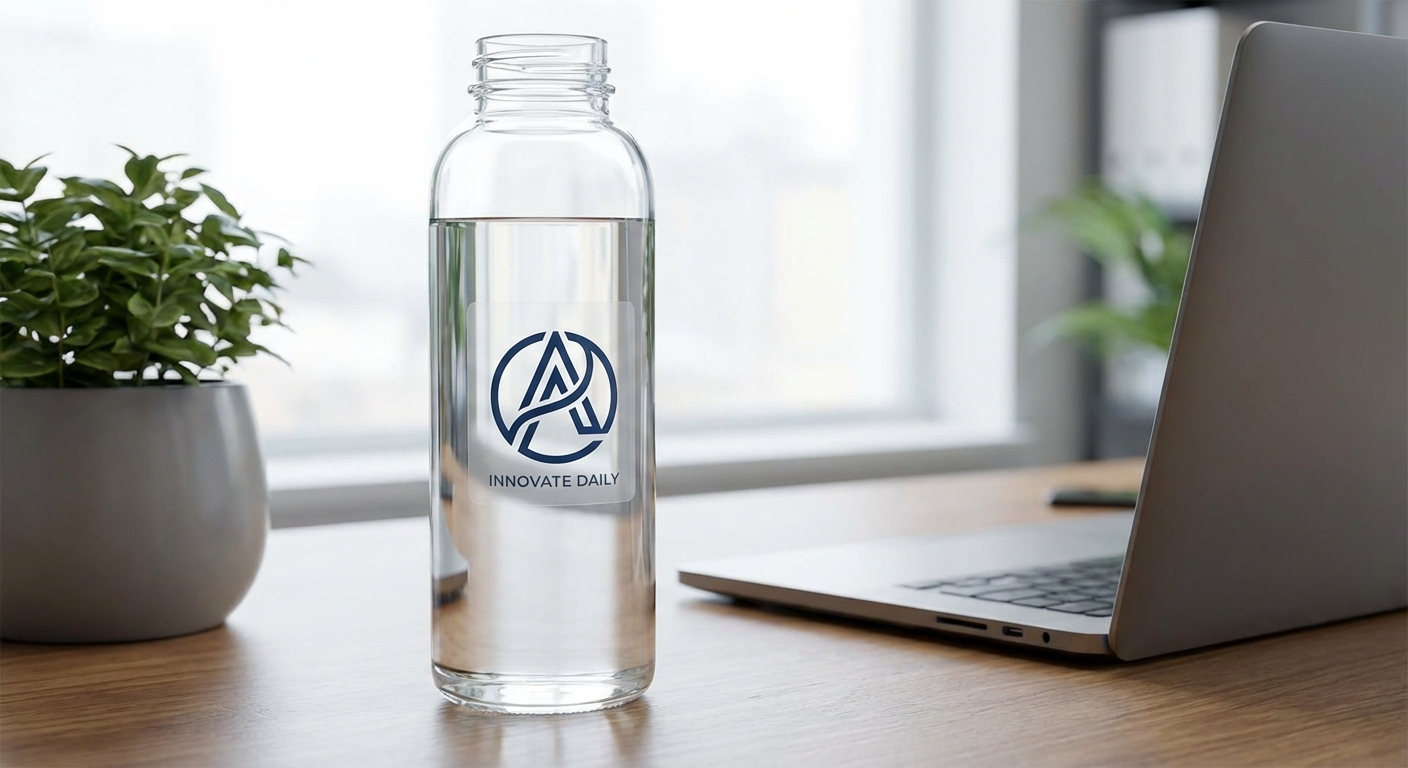
| Clear Stickers | 1/8" beyond cut line | 1/8" inside cut line | Transparent background shows edge or registration shifts more easily |
Sticker Safe Zone: Common Questions
- What is a safe zone in sticker printing?
- The sticker artwork safe zone is the area inside your sticker's cut line where all critical content, text, logos, and fine details, should be placed. Most print shops, including ours, recommend keeping important elements at least 1/8 inch inside the cut line. This buffer protects your design from minor shifts that happen during cutting, so nothing important gets sliced off or lands too close to the finished edge.
- What is a SafeZone?
- Outside of printing, SafeZone usually refers to a mobile safety app used for check-ins and alerts, which is unrelated to sticker production. In the print world, a safe zone has a different meaning: it's the inset margin around your artwork that keeps essential content away from the cut line. When you're designing custom stickers, this is the definition that matters for your file setup.
- What's the difference between sticker bleed and the safe zone?
- Bleed and safe zone work in opposite directions. Sticker bleed extends your background artwork past the cut line (typically 1/8 inch) so there's no thin white edge if the cut shifts slightly outward. The safe zone pulls important content inward from the cut line so nothing gets trimmed if the cut shifts inward. Together, bleed and safe zone give your sticker a built-in cushion on both sides of the line.
- What is a safe space sticker?
- These are produced the same way as any other custom design, so the same sticker artwork safe zone rules apply: keep text and icons inset from the shape's edge so wording like 'Safe Space' or a logo doesn't get trimmed. You can build one from scratch using die-cut stickers.
- How do I use a safe zone when designing my sticker?
- Start by setting up your artboard at the exact finished size of your sticker, then add a bleed layer that extends your background 1/8 inch past every edge. Next, draw a second guide 1/8 to 3/16 inch inside your cut line and keep all text, logos, and important graphics within that inner boundary. Export as a high-resolution, print-ready file and double-check proportions before placing your order. If you'd rather have a professional review your layout, our design services team can check your margins before production.
- Does the safe zone change depending on the sticker shape?
- Yes. Simple rectangles and squares only need a standard 1/8 inch inset, but curved or irregular shapes need extra room because rounded edges visually 'eat into' the design more than straight ones. Circular layouts, for example, should keep text closer to the center with a 3/16 inch margin, and custom-shaped outlines with sharp points or notches benefit from even wider clearance around those tight corners.