
Catch these sticker printing mistakes in your file before they show up on the finished product
A sticker only looks as good as the file behind it. Bleed left off the edge, colors that shift from screen to print, or a die-cut shape that's too fragile to survive cutting all turn a good idea into a reprint. This guide walks through the most common sticker design mistakes we see before orders go into production, plus the sticker design tips that fix them, so your custom sticker design comes off the press exactly the way you pictured it.
Sticker Types and Layout Options That Affect Your Print Results
Before fixing any sticker design mistakes, it helps to know which print format you're working with, since each one changes how much bleed, spacing, and contrast your artwork needs.
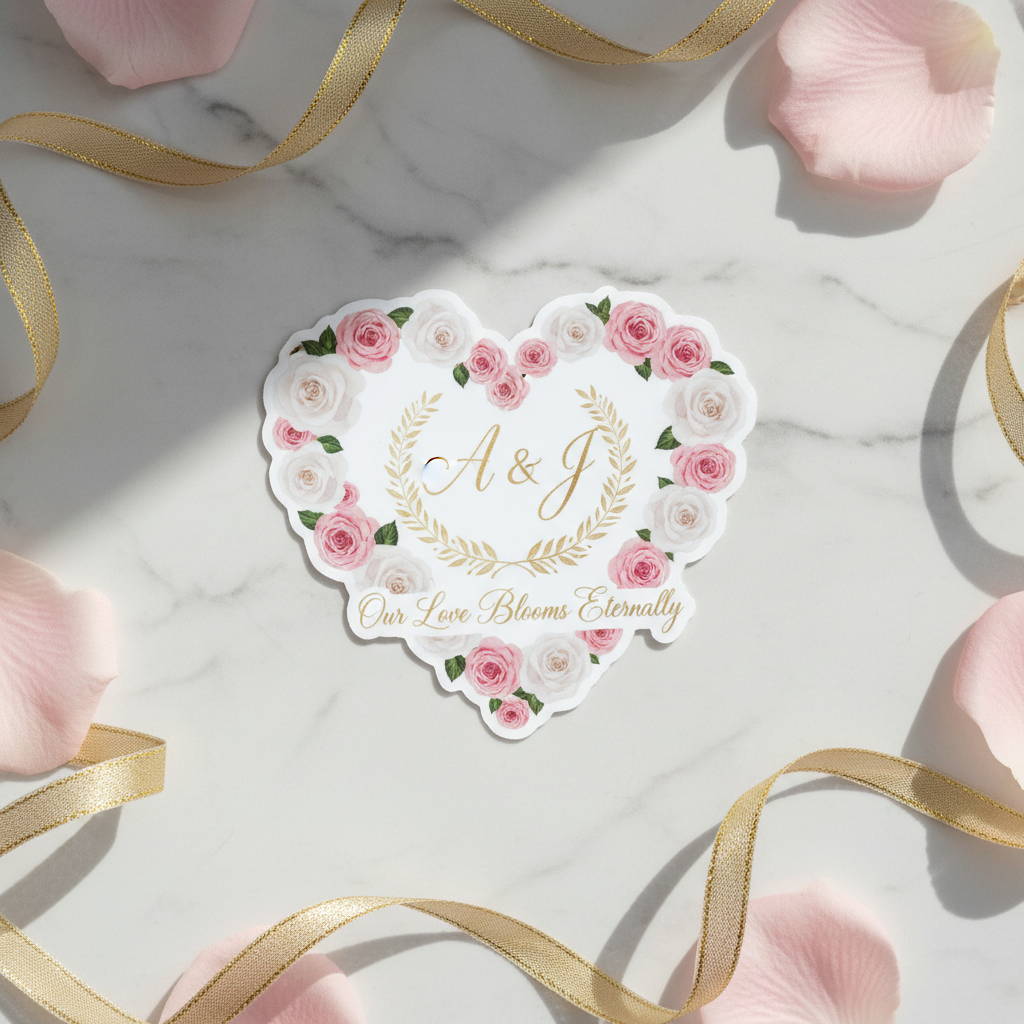
Die-cut stickers follow the exact outline of your design, so every point and inward curve becomes a physical cut line. A complex shape with thin spikes might look sharp on screen but can peel or tear at those weak points once it's actually cut from vinyl.
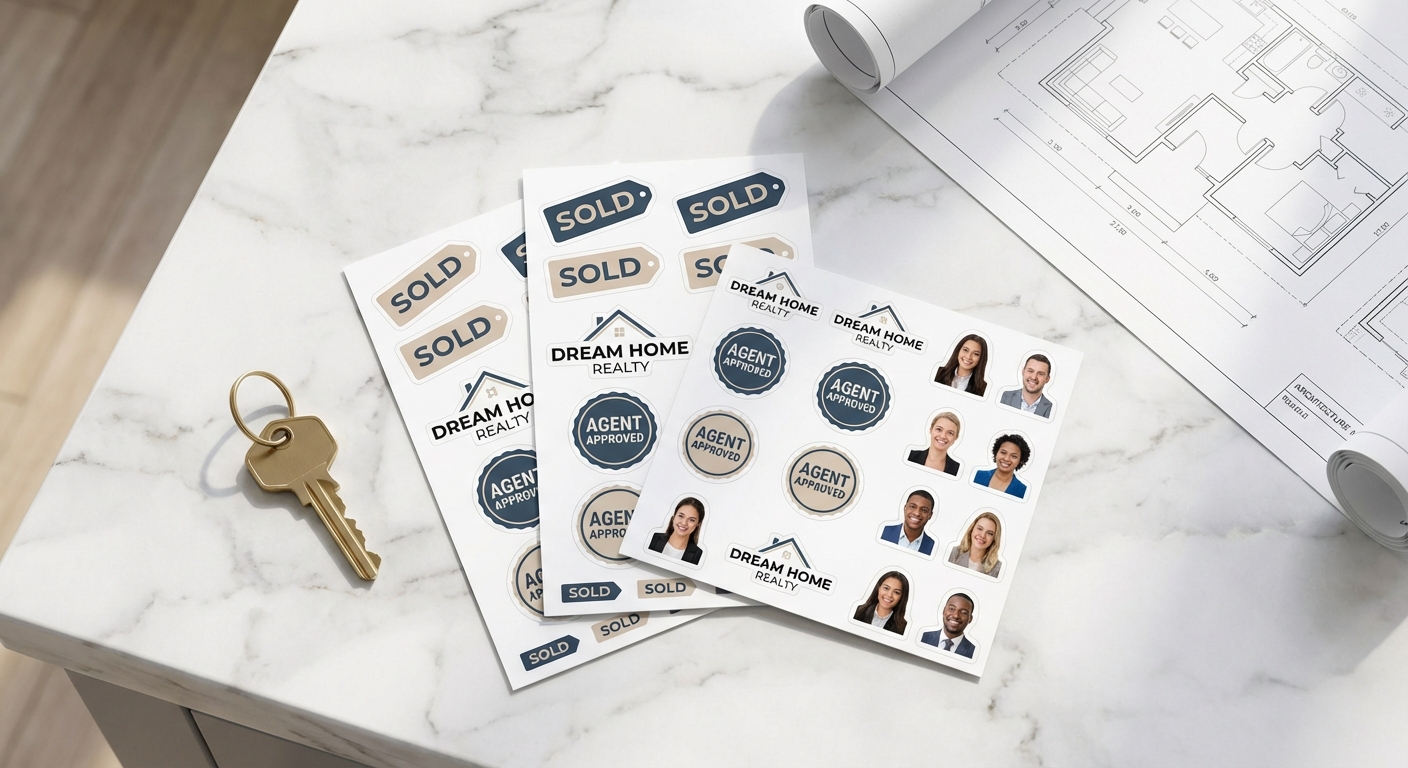
Custom cut sticker sheets hold multiple individual designs on one 8.5"x11" page, so spacing and bleed have to work for every sticker on the sheet, not just one shape.
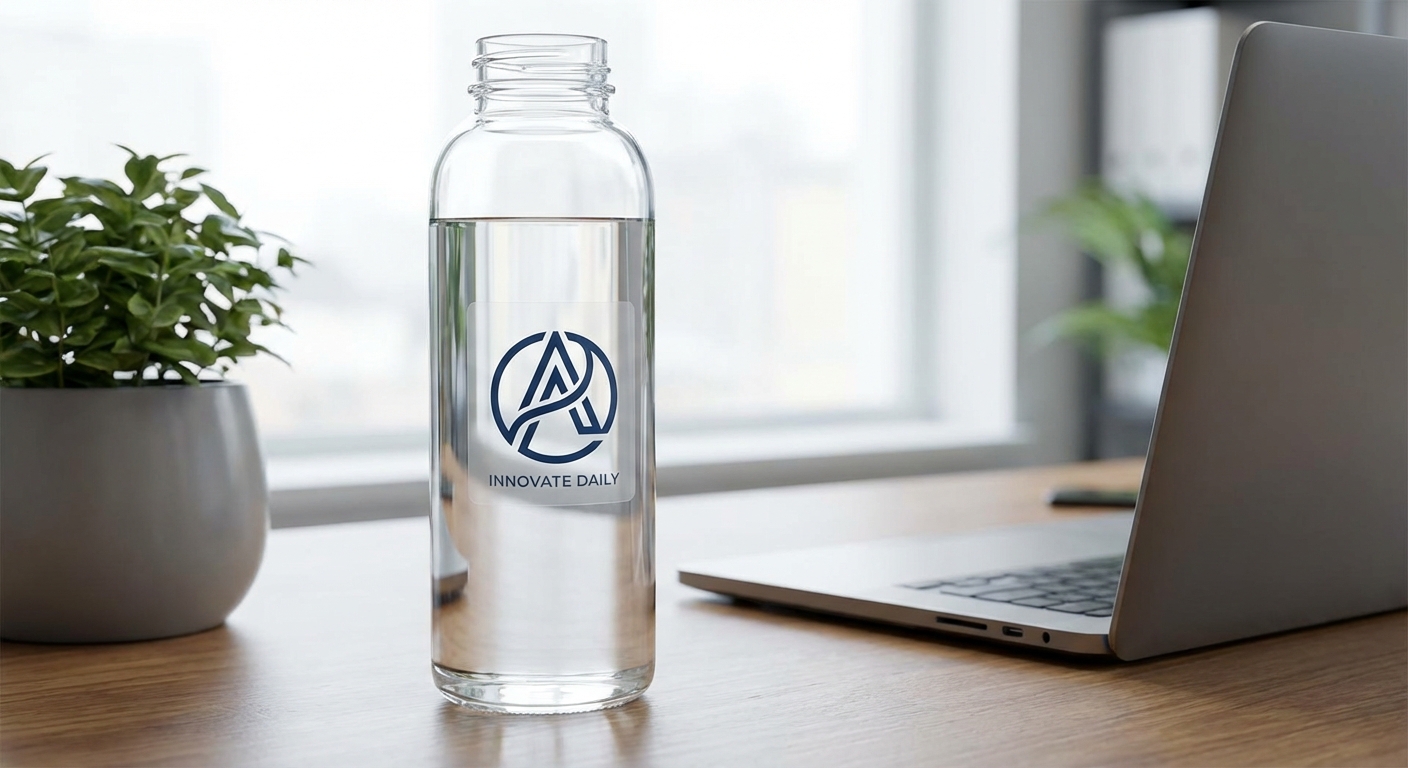
Clear stickers print on transparent film, so light-colored text or thin linework that reads fine on a white artboard can disappear once it's sitting on glass or plastic.
Large vinyl stickers scale from 2"x2" up to 120"x52", so a layout mistake that's barely visible on a small sticker becomes obvious at large-format sizes.
Check your sizing against the size guide before finalizing dimensions, and use the Canva design guide if you're starting a file from scratch. Getting the sticker layout right for your chosen format is the biggest factor in whether your first print run comes out clean.
5 Sticker Design Mistakes That Show Up the Moment You Print
1. Skipping bleed for stickers. Bleed is the extra 0.125" of artwork that extends past your actual cut line. Without it, the die-cutting blade can catch a sliver of white background at the edge, leaving a thin outline around your design. Always extend your background color or image past the artboard edge, not just up to it. For a closer look at how the cutting process works, see this die-cut sticker guide.
2. Submitting low-resolution artwork. Files under 150 to 300 DPI at actual print size turn soft or pixelated once printed, especially on larger custom vinyl stickers. Build your file at real print size (or larger) in a vector program whenever possible.
3. Designing in RGB instead of CMYK. Screens display color in RGB, but printers mix ink in CMYK. Bright neon greens, blues, and purples shift the most in conversion, so soft-proofing in CMYK before you submit print-ready artwork saves you a reprint.
4. Placing text or fine logo details too close to the cut line. Anything within roughly 1/16" of the edge risks trimming unevenly. This is one of the biggest logo design mistakes people carry into sticker projects: a wordmark that reads fine on a business card gets clipped once it's shrunk into a small die-cut shape.
5. Ignoring the actual size guide. A logo that looks balanced at 6 inches can look cramped or oversized at 2 inches. Design at the real print size rather than scaling up later, and double-check proportions before you lock in your file.
5 More Sticker Printing Mistakes (and What Happens After You Apply Them)
6. Choosing the wrong material for where the sticker will live. Economy Vinyl is built for logos, promotions, and indoor novelty use, while Standard Vinyl and Premium Vinyl carry UV, scratch, and moisture protective lamination rated for 3-5 years and up to 8 years outdoors. A sticker headed for a car bumper or job site needs the outdoor-rated material, not the economy option.
7. Over-designing a die-cut shape. Cutting machines follow every point in your outline, and shapes with narrow spikes, tight inner corners, or hair-thin connectors are a common source of problems: the blade can skip, the vinyl can tear along the thin section, or the liner backing can jam during production. Rounding sharp points slightly and thickening thin connectors keeps the cut clean and the finished sticker durable.
8. Skipping a final proof before submitting. Mirrored text, missing fonts, and last-minute typos are the most common reason for reprints. Treat your upload the way you'd treat any order form: a common mistake in form design is leaving a field ambiguous or unlabeled, and the same thing happens with sticker orders when quantity, size, or finish selections don't match the artwork file you actually uploaded. Confirm your file, size, and quantity all agree before checkout.
9. Choosing the wrong finish for the job. Gloss laminate makes colors pop, while matte reduces glare and fingerprints. Picking the wrong finish won't ruin your sticker, but it can affect readability, durability, and the overall look depending on where it's used.
10. Not thinking about where the sticker will actually go. This is about placement, not print quality. Slapping stickers on public property, street signs, or other people's belongings without permission (often called sticker bombing) can run into local vandalism or littering ordinances in plenty of cities, even when the sticker itself printed perfectly. Save the coverage for your own gear, whether that's a laptop, your own vehicle, or branded merch you hand out yourself. For placement ideas that stay on the right side of that line, check out these fun bumper sticker designs.
Sticker Types Compared: Bleed, Format, and the Mistake to Watch For
Different sticker formats carry different design risks. Here's what to double-check depending on which product you're ordering.
| Sticker Type | Best For | Bleed / Layout Requirement | Common Mistake to Watch For |
|---|---|---|---|
Die-Cut Stickers | Custom shaped logos and brand stickers | 0.125" bleed around the full shape | Overly detailed cut lines that create weak, tearable points |
Circle Stickers | Logos, labels, badges | 0.125" bleed on the round edge | Text placed too close to the curved cut line |
Clear Stickers | Glass, packaging, window displays | Minimal bleed, precise trim | Low-contrast colors disappearing within background colors |
Custom Cut Sticker Sheets | Multiple designs on one 8.5"x11" sheet | Bleed applied per design within the sheet layout | Inconsistent spacing between individual stickers |
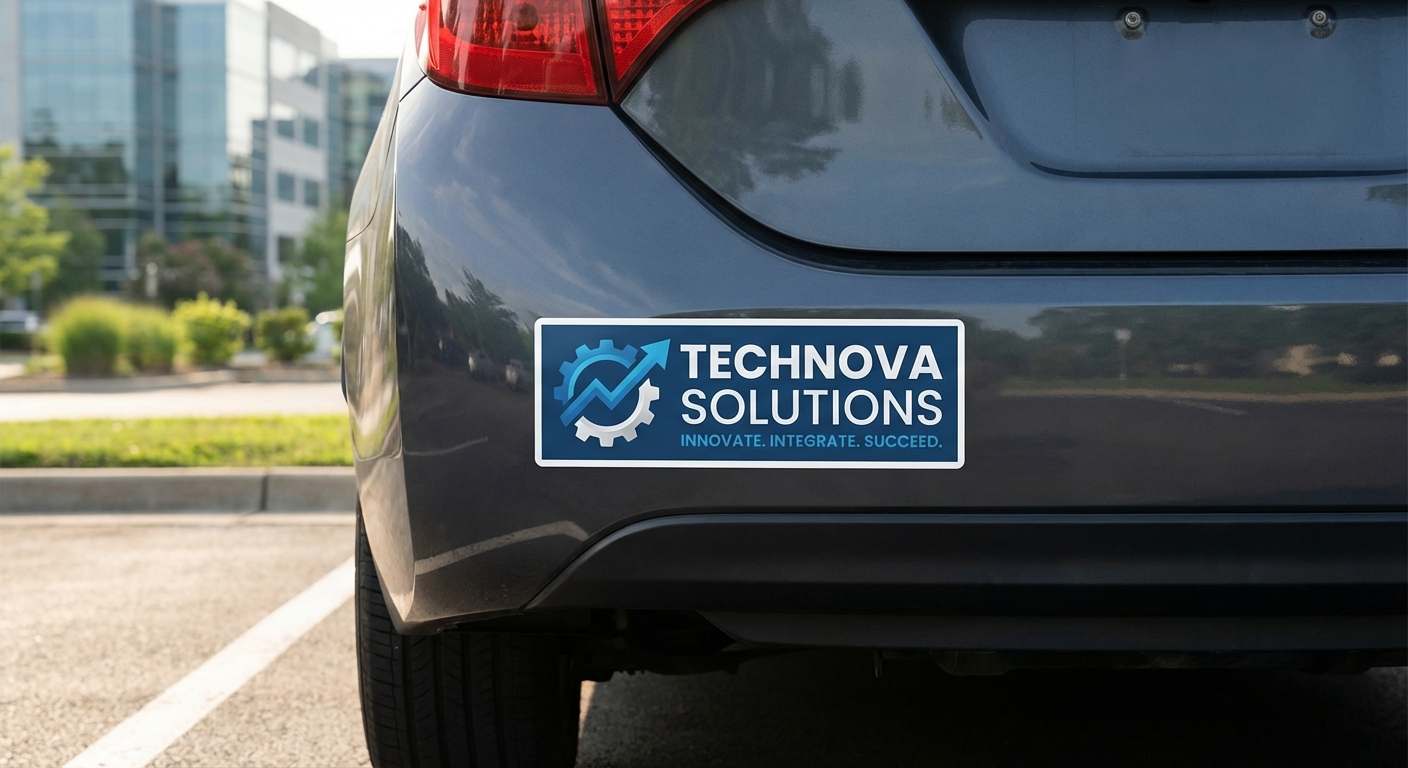
Bumper Stickers | Vehicles, trucks, cars | 0.125" bleed around the full shape | Choosing colors that reduce readability from a distance |
Common Questions About Sticker Design Mistakes
- What's the safest way to add bleed for stickers so nothing gets cut off?
- Extend your background artwork at least 0.125 inches past your intended cut line on every side. That margin gives the die-cutting blade room to work without slicing into your logo or text, and it's the single easiest fix for sticker design mistakes involving edges.
- Which material should I pick if my custom stickers will live outdoors?
- Standard Vinyl carries UV, scratch, and moisture protective lamination rated for 3-5 years outdoors, and Premium Vinyl extends that to up to 8 years for car, truck, and marine applications. Economy Vinyl is best reserved for indoor items like laptops and water bottles.
- What file format counts as print-ready artwork?
- Vector files (AI, EPS, PDF) hold up best at any size because they don't lose resolution when scaled. If you're working from a raster file like a PNG or JPG, build it at 300 DPI or higher at the actual print size, not a scaled-down version.
- Do I get a lower per-unit price if I order stickers in bulk?
- Yes. Orders of 50 units or more move into tiered pricing, so correcting sticker design mistakes before you submit a bulk order saves more money than it would on a single sticker.
- How long does production take once my artwork is approved?
- Standard production runs 3 business days before shipping, with rush and express options available if you need stickers faster. That window covers production only, not FedEx or UPS transit time.
- Can I preview my sticker layout before it goes into production?
- Yes. The online designer shows a proof of your sticker layout, including bleed lines and cut paths, so you can catch sizing or placement issues before the order is printed. You can also request an email proof from our customer service team before approving for production.
- What's the minimum order size?
- Just 1 unit. You don't need to hit a bulk threshold to order custom stickers, though per-unit pricing improves at 50 units and up.
Print-Ready Sticker Formats to Start From
Once your artwork is fixed, here are the formats most customers use to bring a corrected design to print.

Ready to Print a Design That's Actually Print-Ready?
Fix the bleed, check your colors, and simplify that die-cut shape before you upload. Once your file is clean, ordering takes minutes and production runs 3 business days before it ships to your door.