The short answer is yes. Here's why actual size sticker design saves you from blurry artwork, cropped logos, and pricing surprises.
Opening a sticker file on screen and liking what you see doesn't guarantee a clean print. A logo that reads clearly at 50% zoom on a monitor can lose detail fast once it's reduced to a 3-inch circle or trimmed into a 4-inch die-cut shape. Building your file at actual size, meaning the exact inches your sticker will be cut to, is the most dependable way to protect color accuracy, line weight, and text clarity between screen and finished product. Before uploading anything, check our size guide to confirm the dimensions for whichever sticker style you're ordering.
Why Screen Size and Print Size Aren't the Same Thing
How to Set Up Your File for Actual Size Sticker Design
Common Scaling Mistakes and How Test Prints Help
Designing at Actual Size vs. Scaling Up or Down
Here's a quick breakdown of how different approaches to sticker artwork scaling stack up, so you know how to set up your file before you upload it.
| Approach | Best For | Risk Level | Recommended Action |
|---|---|---|---|
| Design at actual print size | Logos, text-heavy designs, and die-cut shapes | Low | Set canvas to final inches at 300 DPI before you start designing |
| Design large, then scale down | Simple icons or shapes with minimal fine detail | Medium | Reduce dimensions by no more than 20% and recheck line weights |
| Design small, then scale up | Icons originally built for a single small use case | High | Avoid scaling up; rebuild the file at the target size instead |
| Design in vector format | Logos, text, line art, anything you might resize later | Low | Vector files scale cleanly to any sticker dimension without quality loss |
Common Questions About Designing Stickers at Actual Size
- Do I need to design my sticker artwork at the exact size I plan to print it?
- Yes. This is standard practice for any print order. Setting your canvas to match the final dimensions, whether it's a 2-inch circle or a 12-inch die-cut shape, shows you exactly how much detail will survive at that scale. Resizing a file built at a different scale is where most print quality complaints originate.
- What happens if I design my sticker too small and then scale it up?
- Stretching a small raster image upward enlarges existing pixels rather than adding new detail, which produces soft edges and blurry text. A file built at 2 inches and printed at 6 inches will show visible pixelation almost every time. Vector artwork sidesteps this because it scales mathematically, but photos and flattened designs should always be built at the size you intend to print.
- What resolution should my file be if I'm designing at actual size?
- 300 DPI (dots per inch) at the finished print dimensions is the standard for sharp output on vinyl stickers. A 4x4 inch file built at 300 DPI will hold detail far better than the same image stretched up from a screen-resolution graphic, which usually sits around 72 to 96 DPI. Matching resolution to your actual sticker dimensions early prevents surprises during proofing.
- Does sticker size affect the price?
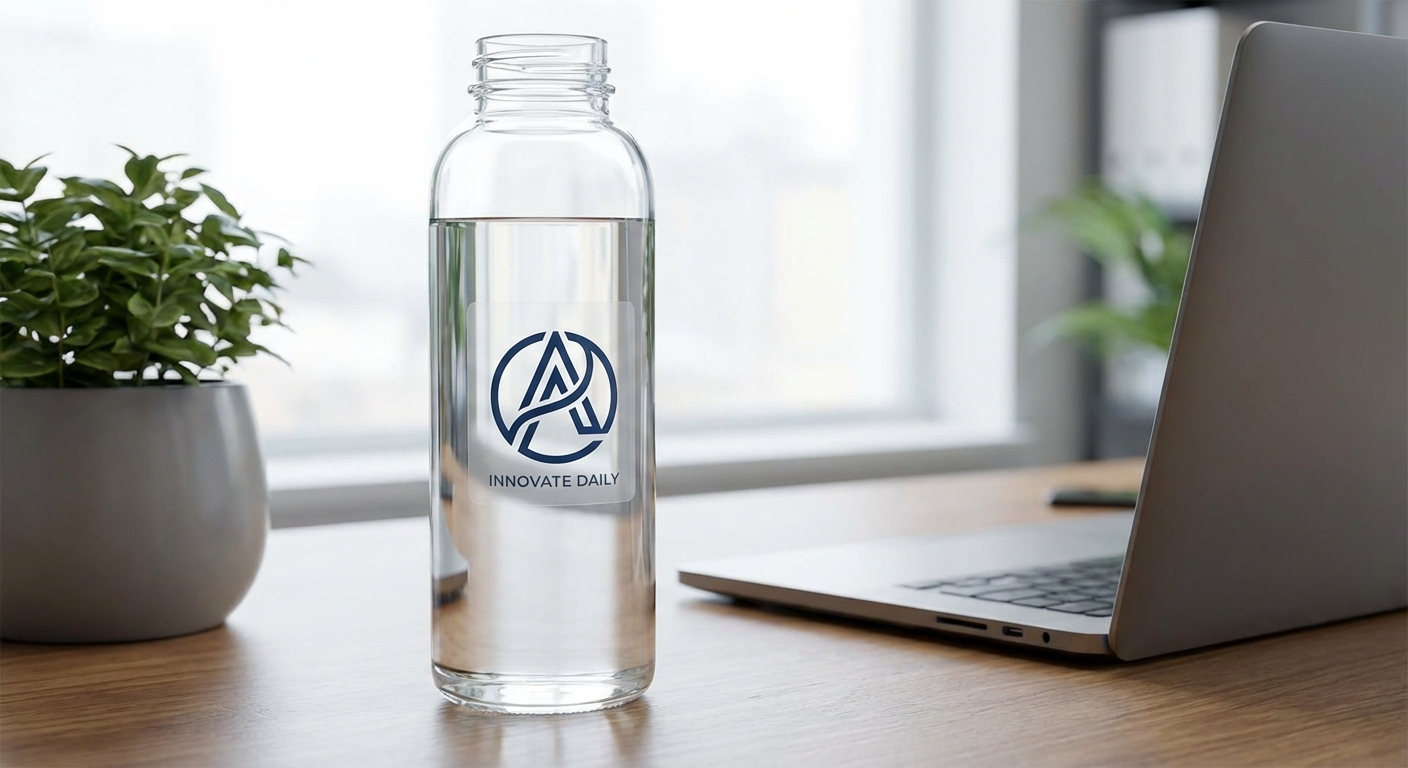
- Yes. Larger dimensions use more vinyl and ink, so price rises with size, while per-unit cost drops as order quantity increases through tiered bulk pricing (50 or more units qualifies for volume discounts). Material choice matters too: Economy Vinyl costs less and suits laptop or water bottle use, while Standard and Premium Vinyl cost more but carry outdoor durability ratings of 3 to 5 years and up to 8 years.
- Can I test print my sticker before placing a bulk order?
- Yes. Ordering a small batch first, often 5 to 10 units, is a practical way to confirm your actual size sticker design translates correctly from screen to finished product. It lets you check color accuracy, trim lines, and overall scale before placing a larger order, and it's especially useful on die-cut shapes where the cut line has to match your artwork outline precisely. Stickers.com offers custom samples for this purpose as well.
- How do I know what size to design for a specific use, like a laptop or bumper?
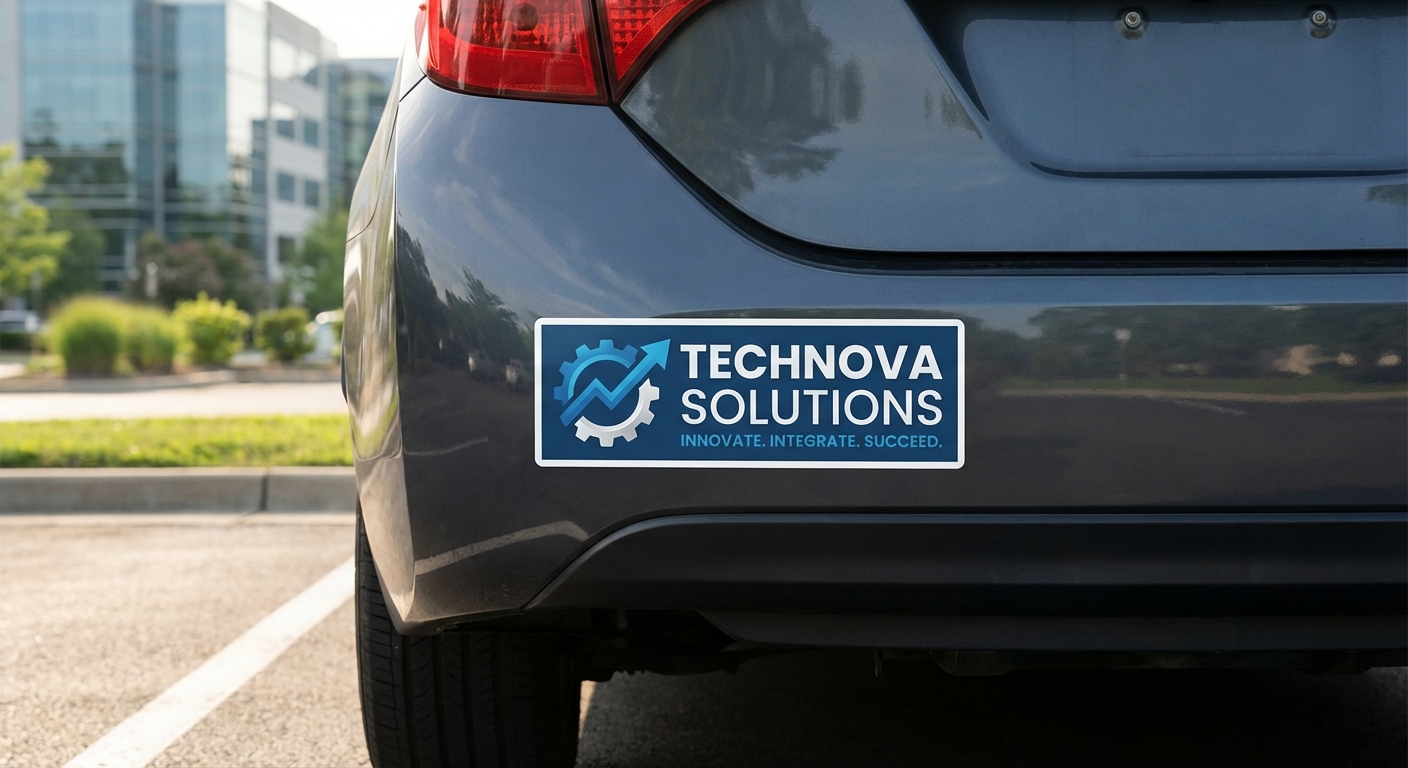
- It depends on the surface and how far away people will view it. Laptop or water bottle stickers usually fall between 2 and 4 inches, while bumper stickers run larger, often 10 to 12 inches wide with heights around 3 to 4 inches, so they stay legible from a distance. Check our size guide for common dimensions by use case before you start designing.
- Will my design still look right if I resize it after the proof is approved?
- No. Resizing a file after proof approval can shift line weights, change how it fits against the cut line, and alter the way fine text renders. Once you design a sticker at actual size and approve a digital proof, that file is locked to those exact dimensions. If a different size is needed, submit a new file built at the correct scale rather than stretching the approved one.