A practical guide to clean laptop sticker removal, residue-free results, and refreshing your setup with new custom stickers
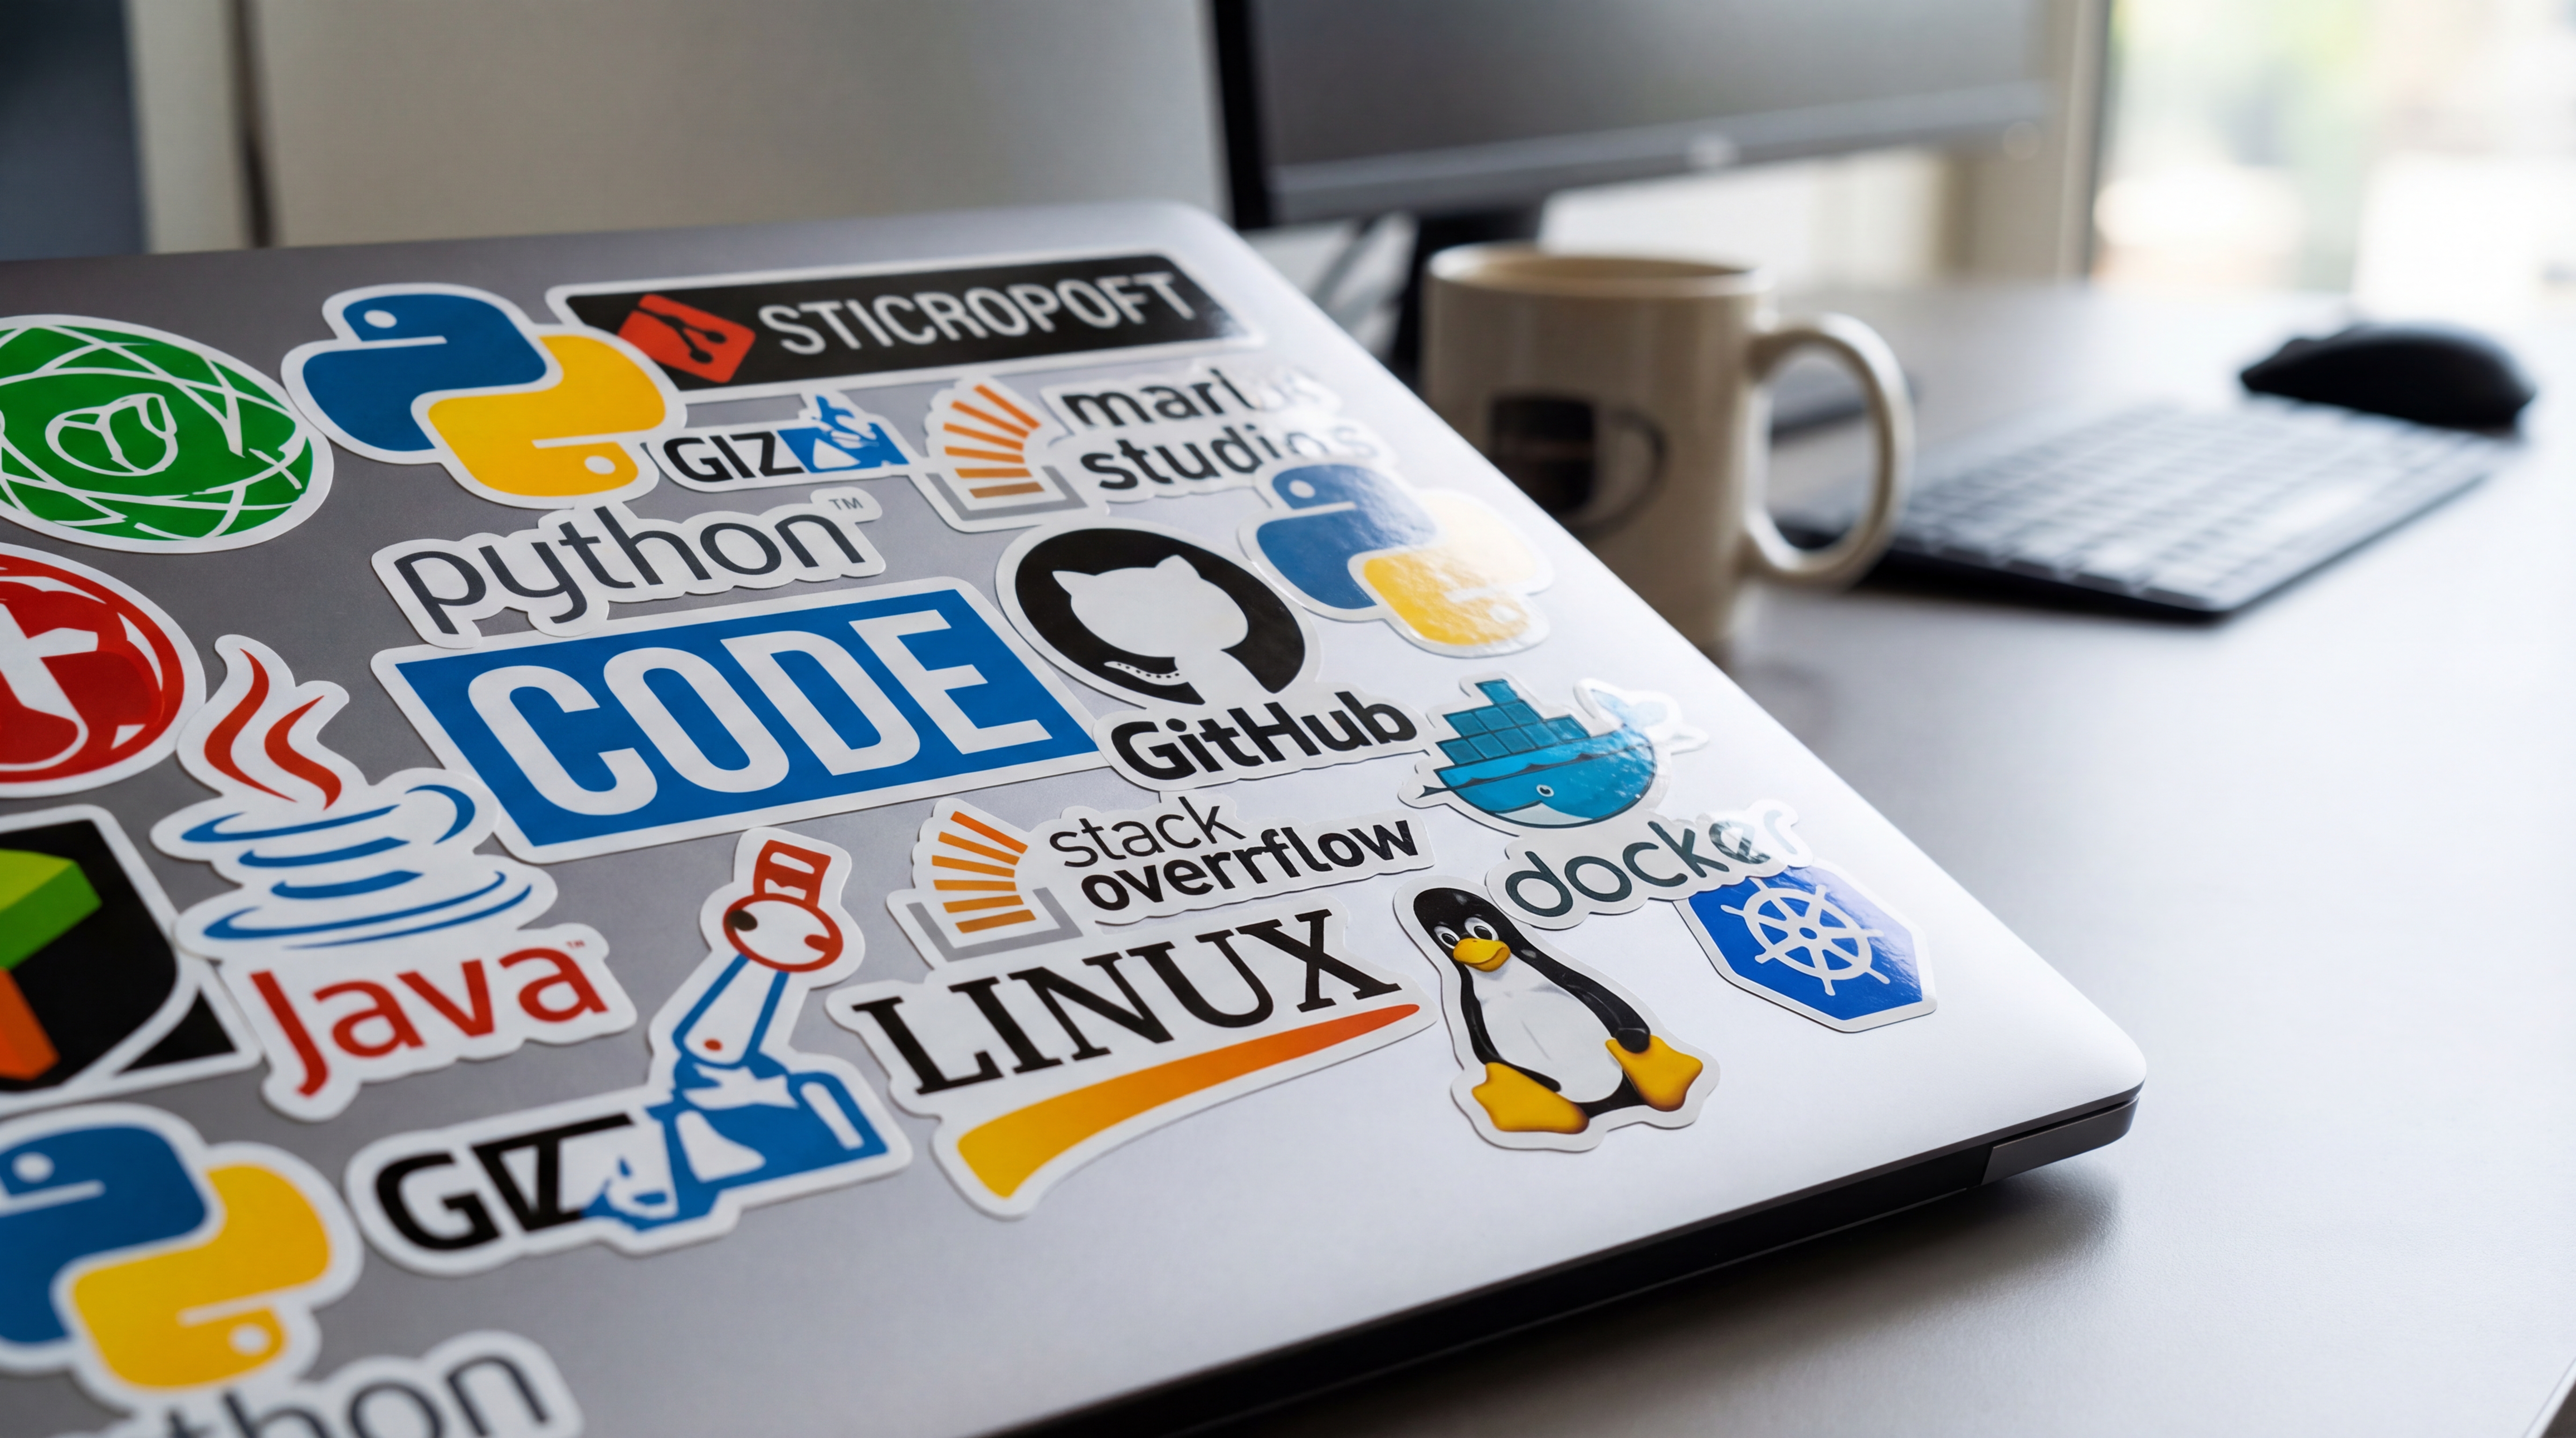
Stickers for laptops are one of the easiest ways to personalize your device, but eventually you may want to swap out old ones, prep a laptop for resale, or simply start fresh. This guide covers every method for removing laptop stickers safely, from lifting a corner with a fingernail to dissolving stubborn adhesive residue, with specific tips for MacBooks, Chromebooks, and aluminum surfaces. Once your lid is clean, we have everything you need to replace what came off with high-quality custom stickers printed to your exact specs.
Why Laptop Sticker Removal Matters (and When to Do It)
Step-by-Step: How to Remove Laptop Stickers Cleanly
Removing Stickers from a MacBook: What to Do Differently
Avoid acetone (nail polish remover) entirely on MacBook surfaces. Even diluted, acetone can strip the anodized layer and leave a dull patch that is difficult to fix. Similarly, avoid abrasive cloths or steel wool, which will create visible micro-scratches in the aluminum.
The safest chemical for MacBook sticker residue removal is isopropyl alcohol applied sparingly to a soft cloth. Work in small sections and check your progress every 15 to 20 seconds rather than saturating the area. Rubbing too aggressively with too much moisture is unnecessary and can leave water marks on aluminum.
For stickers that have been on a MacBook for several years, the adhesive may have cured somewhat against the surface. In these cases, longer heat exposure (45 to 60 seconds on low) before peeling makes a meaningful difference. Go slowly on the peel and do not try to rush adhesive that is not ready to release.
One thing to note for resale specifically: the underside of the MacBook lid near the Apple logo and the four corners of the lid are the spots where buyers and trade-in programs look most carefully for cosmetic damage. Thorough, careful removal in those areas pays off more than anywhere else.
Choosing Replacement Stickers for Laptops That Remove Cleanly Later
Sticker Removal Difficulty by Sticker Type
| Sticker Type | Removal Ease | Residue Risk | Best Removal Method | Safe for MacBook Aluminum |
|---|---|---|---|---|
Die-cut vinyl (glossy or matte) | Easy | Low | Peel slowly after gentle heat | Yes |
Clear vinyl stickers | Easy | Low | Peel slowly after gentle heat | Yes |
Economy vinyl stickers | Easy to moderate | Low to medium | Gentle heat + plastic card | Yes |
Sticker sheets (kiss-cut) | Easy | Low | Lift backing tab, peel slowly | Yes |
Older vinyl (5+ years) | Moderate | Medium | Extended heat, alcohol for residue | Yes with care |
Paper craft stickers | Difficult | High | Heat + Goo Gone, may tear | Use caution |
Glitter or foil novelty stickers | Difficult | High | Soak with oil, slow peel | Use caution |
Common Questions About Laptop Stickers
- Is it a good idea to put stickers on a laptop?
- Yes, stickers are one of the most popular ways to personalize a laptop. Vinyl stickers designed for laptops are thin, lightweight, and apply flat against the surface without adding meaningful bulk. High-quality die-cut vinyl stickers use a pressure-sensitive adhesive that holds firmly during normal use but releases cleanly when you are ready to remove them. Millions of students, developers, designers, and professionals decorate their laptops this way. The main thing to keep in mind is sticker quality: cheap paper stickers or low-grade adhesives are harder to remove and more likely to leave residue, while premium vinyl stickers typically peel off much more cleanly.
- What kind of stickers can go on laptops?
- Laptop stickers are the best choice for laptops. Economy vinyl stickers work well for general laptop decoration and have a lifespan of 3 to 5 years with proper care. They are available in glossy or matte finishes and are laminated to protect the print from UV fading. Clear stickers are another popular option because the transparent background blends seamlessly with any laptop color, making the printed artwork appear to float on the surface. Die-cut stickers cut precisely to the shape of your design are the most common format for laptop decoration. Avoid paper stickers, craft stickers with water-activated adhesive, or anything marketed for temporary craft use, as those are significantly harder to remove without tearing or leaving residue.
- Where do I get laptop stickers?
- Stickers.com lets you order custom laptop stickers printed with any artwork, logo, illustration, or photo you upload. Orders start at just 1 sticker, production takes 3 business days, and stickers ship directly to your door. You can choose the material, finish, size, and cut shape. If you want to sell laptop stickers on Etsy or Redbubble, bulk orders of 50 or more units unlock tiered pricing that significantly reduces the per-unit cost.
- What is the safest way to remove a sticker from a MacBook?
- Start by softening the adhesive with gentle heat. Hold a hair dryer on low heat about 6 inches from the sticker for 20 to 30 seconds. Then use a plastic card, a guitar pick, or your fingernail to lift one corner gently. Peel slowly at a low angle, pulling back on itself rather than pulling upward, which reduces the chance of tearing. If residue remains, apply a small amount of rubbing alcohol or a drop of coconut oil to a soft cloth and rub in small circles until the residue lifts. Avoid acetone or nail polish remover on MacBook aluminum finishes, as these can strip the anodized coating.
- How do I remove sticker residue from a laptop?
- Isopropyl alcohol (70% or 90%) is the most reliable and safe option for removing sticker residue from laptop surfaces, including aluminum MacBook lids and plastic Chromebook shells. Apply a small amount to a microfiber cloth, not directly to the laptop, and rub gently in circles over the sticky spot. For very stubborn residue, commercial adhesive removers like Goo Gone work well, but test a small hidden area first and wipe the surface clean immediately after to avoid any finish damage. Cooking oils like coconut oil or olive oil also dissolve adhesive effectively on harder surfaces, though they require a follow-up wipe with rubbing alcohol to remove the oil itself.
- Will stickers damage my laptop's finish if I remove them?
- With proper technique, stickers removed from a laptop almost never damage the finish. The risk of damage comes primarily from using sharp metal tools that can scratch the surface, applying too much heat for too long, or using harsh chemical solvents like acetone. Stickers that have been on a laptop for many years may leave more residue than newer ones, but that residue is still removable with the methods above. Taking your time and peeling at a low angle is the single most important factor in keeping the surface clean and undamaged.