Print-ready files, correct cut lines, and the right resolution for custom stickers that come out exactly as designed
Getting your sticker artwork print-ready is the difference between a crisp, accurate cut and a sticker that prints blurry or gets trimmed in the wrong place. Whether you're building a logo sticker in Canva or a detailed illustration in Adobe Illustrator, the setup process follows the same core rules: correct dimensions, high resolution, proper bleed, and a clean cut line. This guide walks through exactly how to prepare sticker artwork for printing in both programs so your file is ready to upload and order as soon as you finish designing.
Setting Up Sticker Artwork in Canva
Setting Up Sticker Files in Adobe Illustrator
Sticker File Dimensions, Resolution, and Bleed Explained
Common Export Mistakes That Delay Sticker Printing
Canva vs. Adobe Illustrator for Sticker File Setup
Both programs can produce print-ready sticker artwork, but they handle file prep differently. Here's how Canva sticker design setup compares to Illustrator sticker file setup for the most common requirements.
| Requirement | Canva | Adobe Illustrator |
|---|---|---|
| File type | Raster (PNG, JPG) | Vector (AI, EPS, PDF, SVG) |
| Best for | Simple logos, text-based designs, quick layouts | Detailed illustrations, intricate cut shapes, scalable artwork |
| Cut line setup | Not built-in; rely on transparent background for shape | Manual vector path with "CutContour" spot color |
| Resolution control | Set DPI manually before designing | Infinitely scalable, resolution-independent |
| Export format | PNG with transparent background | PDF or AI with cut line layer intact |
| Color mode | RGB (limited CMYK control) | Full CMYK color mode support |
| Learning curve | Beginner-friendly | Steeper, but more precise control |
Sticker Artwork and File Setup Questions, Answered
- What file format do I need for custom sticker printing?
- PNG, PDF, AI, and SVG files all work for custom sticker printing, but each serves a different purpose. PNG is best for raster artwork with a transparent background (ideal for Canva exports). PDF and AI files are preferred for vector artwork because they scale without losing quality and can carry a dedicated cut line layer. If your design has sharp logos, text, or line work, a vector file from Illustrator will give you the cleanest print-ready sticker artwork.
- What resolution should my sticker artwork be?
- Your sticker artwork resolution should be at least 300 DPI (dots per inch) at the final print size. A sticker that looks sharp on a screen at 72 DPI will often print pixelated or fuzzy at full size, because screen resolution and print resolution are not the same thing. If you're working in Canva, set your page size to the actual sticker dimensions in inches before you start designing, rather than scaling up a small image afterward.
- How do I set up cut lines in Adobe Illustrator?
- Create a new layer above your artwork, draw a vector path around the shape you want cut, and set the stroke to a spot color named exactly "CutContour" with no fill. This is the standard naming convention printers look for when processing die-cut and kiss-cut files. Keep the cut line as a separate layer so it doesn't get flattened into the printed design, and make sure it's a closed, continuous path with no stray points.
- Can I design a sticker sheet layout in Canva?
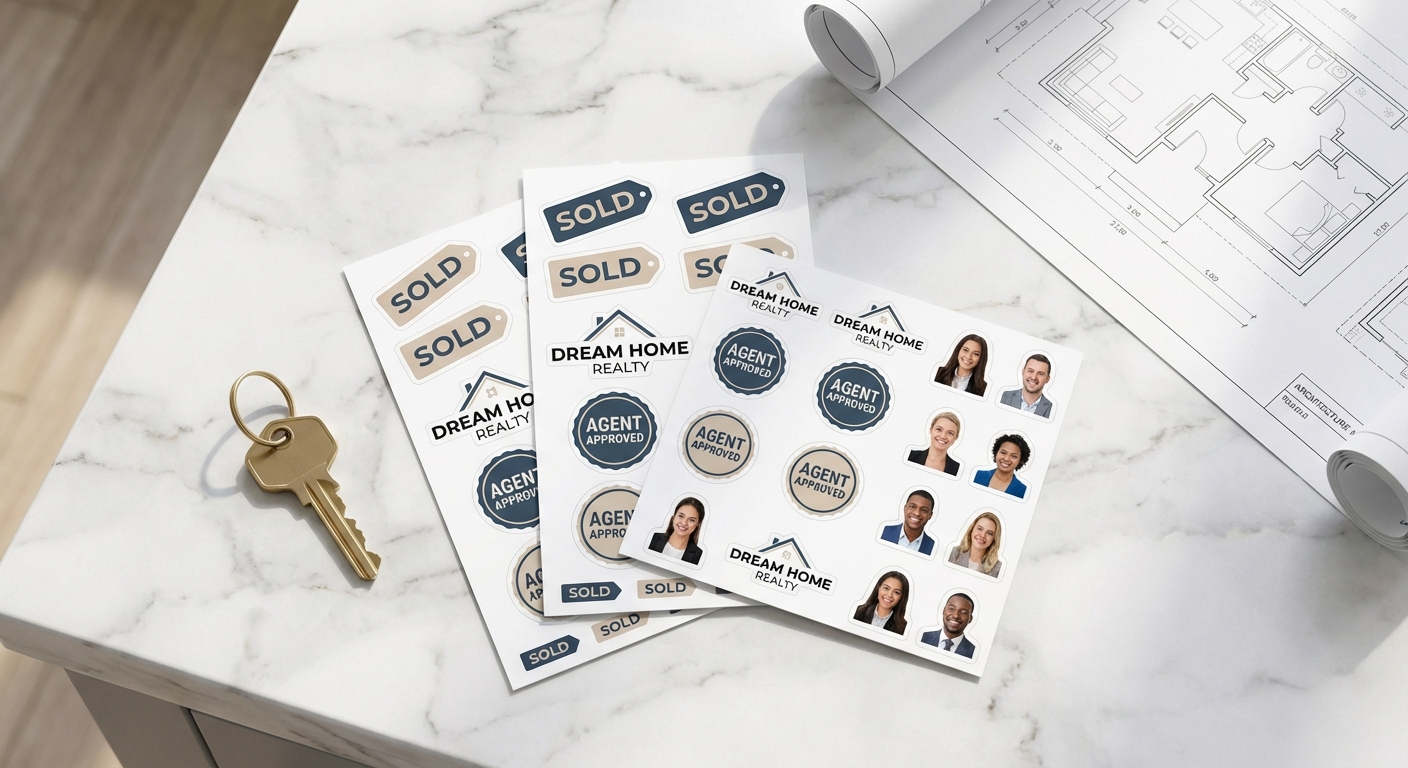
- Yes, Canva works well for laying out multiple sticker designs on one sheet. Set your canvas to the full sheet dimensions, add guides to mark where each sticker will sit, and leave spacing between designs so they don't crowd the cut line. This approach is commonly used for products like custom cut sticker sheets, where several individual stickers are printed and cut from a single sheet. Our Canva design guide walks through sheet setup in more detail.
- Do I need bleed and margin on my sticker file?
- No, you don't need to include bleed in your artwork when ordering custom stickers. However, if you're comfortable adding bleed in your design software, we recommend extending any artwork that reaches the sticker's edge by approximately 0.125 inches beyond the intended cut line. This helps prevent unwanted white edges during cutting. It's also best to keep important text, logos, and design elements at least 0.0625 to 0.125 inches inside the cut line to account for slight cutting variations. If you're unable to add bleed yourself, don't worry! Our team can assist with preparing your artwork for printing.