
Understanding cut lines, small details, and complex shapes in die cut sticker design
Die-cut stickers follow the exact outline of your artwork, which is why customers often ask how much detail a design can hold before the cutting blade starts rounding off points or skipping thin sections. The short answer: quite a lot, but not without limits. This guide breaks down what a contour cutter can realistically do, where intricate stickers start to hit physical constraints, and when a kiss-cut sticker is the smarter choice for highly detailed artwork.
What Die-Cut Actually Means for Your Design
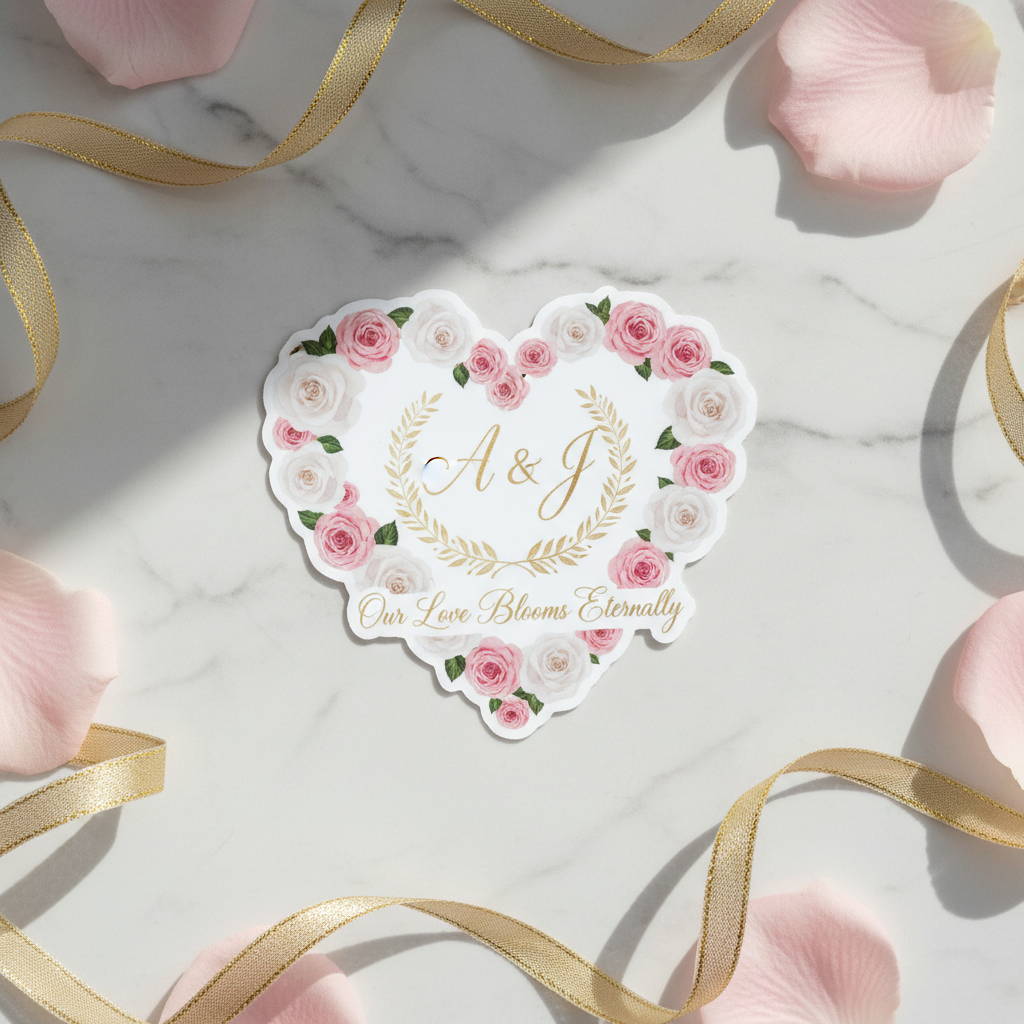
A die-cut sticker is printed first, then cut along the exact outer edge of the artwork using a precision blade guided by a digital cut path. That path traces your design's silhouette, so a star stays star-shaped, a logo with an irregular outline stays true to its shape, and there's no leftover background square or circle around it. This is the core appeal of custom sticker shapes: the sticker itself becomes the shape.
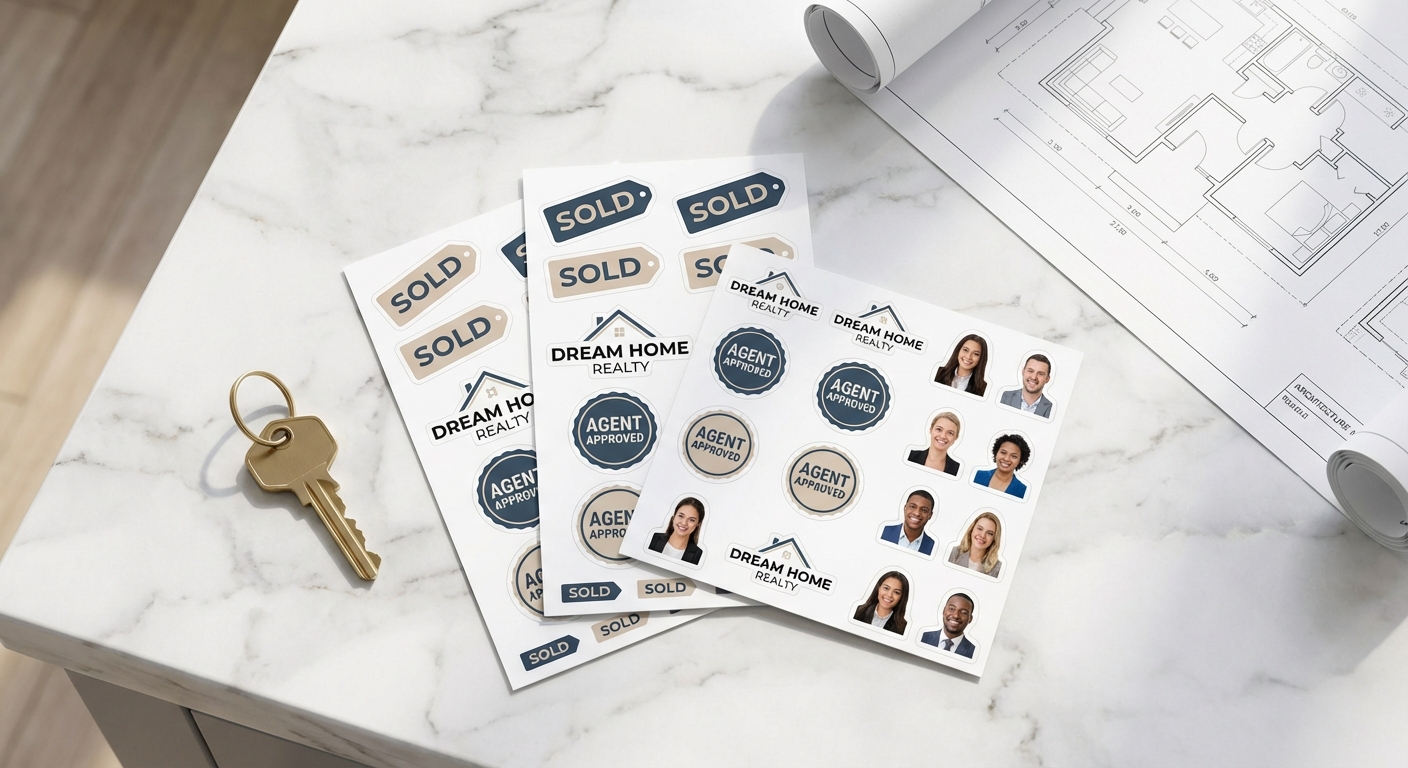
Die-cut differs from kiss-cut, where the blade cuts through the sticker layer but not the backing paper, leaving the shape resting on a larger sheet until you peel it off. Both methods start from the same printed sheet, but the cutting approach changes what's realistic for complexity. Our die-cut vs. kiss-cut comparison walks through the mechanical differences in more detail if you're deciding between the two for a specific design.
How Small and Intricate Can the Details Get?
Contour cutters are precise, but they're still working with a physical blade moving through vinyl and laminate. Sharp inside corners may have slight rounding rather than a perfectly crisp point, while very narrow points, tight notches, and delicate extensions can be more vulnerable to bending or lifting. The more intricate the outer contour becomes, the more important it is to consider how the finished sticker will be handled. Simple shapes like circles, ovals, squares, badges, and designs with broad curves generally create clean, straightforward cut paths.
For designs with especially detailed or delicate outer edges, a kiss-cut sticker can be a practical alternative. The sticker itself is cut to the custom shape, but the surrounding backing remains in place until application. That extra backing gives you more material to hold onto while peeling and positioning the sticker, helping protect narrow points and detailed edges before they're applied.
For designs with especially detailed or delicate outer edges, a kiss-cut sticker can be a practical alternative. The sticker itself is cut to the custom shape, but the surrounding backing remains in place until application. That extra backing gives you more material to hold onto while peeling and positioning the sticker, helping protect narrow points and detailed edges before they're applied.
For most logos, mascots, lettering, and illustrative designs, die-cut stickers handle the job just fine. Fine details within the printed artwork, such as small text or detailed line art, can still print clearly because the printed design and outer cut line are separate. For example, a mascot can keep small features like hair, fingers, or accessories within the printed artwork without requiring the cut line to trace around every individual one. It's primarily the complexity of the outer contour—especially narrow extensions, tight corners, and delicate edges—that may make a kiss cut easier to handle than a traditional die cut.
Preparing Die-Cut Artwork: File Types, Bleed, and Cut Line Setup
Clean sticker design starts with the file. Vector formats (AI, EPS, PDF, or SVG) scale to any size without losing edge quality, which matters most on die-cut artwork since the blade follows that exact vector path. If you're working from a raster file instead, export at 300 DPI or higher at your intended print size so fine lines and small text stay crisp.
Build in a small bleed, generally 1/8 inch of extra artwork beyond your visible design, so there's no thin sliver of white edge if the cut shifts by a fraction of a millimeter during production. Keep your cut line in mind as you design: avoid long, skinny stems or narrow connecting bridges under 1/8 inch, since those are the first spots to tear during application. When possible, smoothing out unnecessary bumps, notches, or tiny turns in the cut path can make a complex design more practical without changing how the artwork itself looks.
Die-Cut vs. Kiss-Cut: How Do They Compare?
Not sure which cutting method fits your design's level of detail? Here's how the two most common options compare for complexity, use case, and material fit.
| Feature | Die-Cut Stickers | Kiss-Cut Stickers |
|---|---|---|
Cut method | Blade follows the full outer outline of a single connected shape | Blade cuts the shape but leaves it on a backing sheet |
Best for detail level | Solid, connected shapes with moderate outline complexity | Fine details, thin lines, or disconnected design elements |
Typical use case | Individual logo stickers, product labels, vehicle stickers | Sticker packs, planner stickers, detailed illustrations |
Size range | 2" x 2" up to 12" x 12" | 2" x 2" up to 12" x 12" |
Minimum order | 1 unit | 1 unit |
Where Crack-and-Peel Stickers Fit In
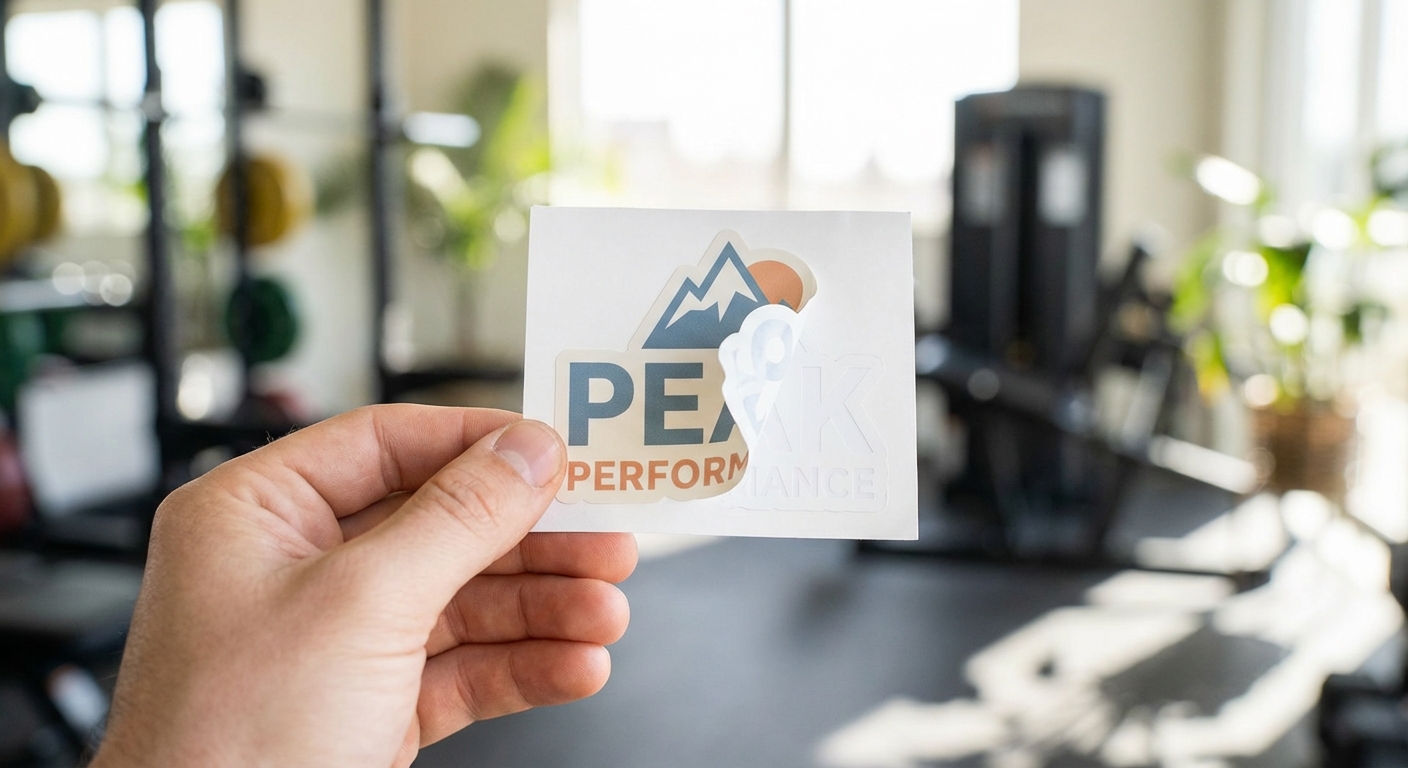
If you want the custom-shaped look of a die-cut sticker with a backing that's easier to remove, crack-and-peel stickers can be a useful middle ground. The sticker is still cut to follow the shape of your design, but the backing includes a split that makes it easier to bend, separate, and peel without having to pick at the sticker's outer edge. This can be especially helpful for shapes with curved edges, corners, or other areas that may be harder to grab from a standard liner. Crack-and-peel backing doesn't change how detailed the actual cut can be, but it provides a simpler way to separate the sticker from its liner and get it ready for application.
Peeling can become a little trickier when the outer contour includes parts of the design you would rather not handle more than necessary. Narrow lettering, small logo extensions, or asymmetrical shapes may require more care when separating the sticker from a standard liner. Crack-and-peel backing shifts that starting point away from the perimeter, giving you a more direct way to access the adhesive side before application.
Peeling can become a little trickier when the outer contour includes parts of the design you would rather not handle more than necessary. Narrow lettering, small logo extensions, or asymmetrical shapes may require more care when separating the sticker from a standard liner. Crack-and-peel backing shifts that starting point away from the perimeter, giving you a more direct way to access the adhesive side before application.
Die-Cut Sticker Design: Common Questions
- What is die-cut in stickers?
- Die-cut describes how the sticker is cut after printing. Rather than leaving a rectangle or square border, a precision blade follows the exact outline of your artwork, so the finished sticker shows no visible background shape, just the design itself with a thin white or clear edge. This differs from kiss-cut, where the sticker shape is cut but remains attached to a larger backing sheet. You can read more about the mechanics in our breakdown of die-cut stickers and how they compare to sheet-based cutting in our die-cut vs. kiss-cut guide.
- How to design a die-cut sticker?
- Start with a clean vector or high-resolution file, keep important details away from the very edge of the artwork, and leave at least 1/8 inch of solid shape around any thin lines or points. Sharp corners under about 90 degrees will get slightly softened by the cutting blade, so build in a small radius on tight angles. If your design includes several separate floating pieces (like scattered stars or confetti), those need to be printed as a single connected shape or produced as a kiss-cut sticker instead, since a true die-cut can only follow one continuous outline.
- What do you need to make die cut stickers?
- You need print-ready artwork (vector files like AI, EPS, PDF, or SVG work best, though a high-resolution PNG at 300 DPI or higher is also fine), a clear idea of your finished size, and a material and finish selection. We generate the cut line and handle production once your file is uploaded, so there's no special die-cutting software or equipment needed on your end.
- How can I get die-cut stickers printed?
- Upload your artwork through our die-cut stickers product page, choose your size, finish, and place your order. Production typically takes 3 business days depending on the option you select, plus FedEx or UPS transit time, and your stickers ship directly to your address ready to apply.
- How does pricing work for bulk die-cut sticker orders?
- Minimum order is 1 unit, so a single custom shape for a one-off project is no problem. Once you reach 50 units or more, tiered pricing kicks in and the per-sticker cost drops as quantity increases, which makes die-cut stickers a practical option for product packaging, merch drops, and giveaways at scale.
Shop Die-Cut and Detail-Friendly Sticker Products
Once your artwork is ready, here's where to bring your die cut sticker design to life. Each product below is custom printed to order and ships directly to you.

Ready to Turn Your Artwork Into a Custom Die-Cut Sticker?
Upload your design, choose your size and material, and we'll take care of the sticker cutting from there. Production runs 3 business days plus shipping, with no minimum order beyond a single unit and tiered pricing once you scale up to 50 or more.