
The tool you reach for determines whether your custom stickers go on smooth or end up trapped under bubbles and scuff marks.
Every sticker order ships with the same question waiting at the end: how do you actually get it onto the surface without ruining the finish? Fingers feel natural and cost nothing, but they also trap oils, flatten bubbles unevenly, and can scratch glossy or holographic laminate. A squeegee spreads pressure evenly across the whole sticker, pushes air out from the center, and protects the print from fingernail drag. Neither method is wrong for every job. This guide breaks down when each one makes sense, what tools pros actually use, and how to apply vinyl stickers by hand without regretting it later.
Sticker Application Tools: Squeegees, Fingers, and What Actually Belongs in Your Kit
Felt-edge squeegees are the standard in sign shops and for good reason: the felt lining glides over laminate without leaving drag marks, making them ideal for die-cut stickers, stickers, and anything with a glossy or matte UV coating. Rubber squeegees apply firmer pressure and work well on outdoor-rated vinyl that needs to bond fast to a bumper or window. Silicone squeegees sit in between, soft enough for clear and holographic finishes but still firm enough to push out air on a full sheet.
Fingers remain the default for small, quick jobs: a single custom sticker on a notebook, a label on packaging, or a one-off sticker going on a phone case. For anything bigger than a few inches, a squeegee saves time and avoids the patchy, bubbled look that comes from pressing with a thumb alone. If you're new to the process entirely, our guide on how to install a sticker walks through surface prep, peel technique, and smoothing in order.
Matching the Tool to the Sticker Type
Not every sticker needs the same application approach. Thin, flexible die-cut vinyl conforms easily and tolerates finger pressure better than rigid or oversized formats. Kiss-cut sheets, where multiple designs share one backing, benefit from a squeegee because peeling one design at a time with fingers can accidentally lift the next one. If you're working with wall decor or decorative pieces, our wall sticker installation guide and general wall sticker usage tips cover techniques for larger formats where a squeegee is nearly mandatory.
Squeegee and Fingers Compared: Strengths and Tradeoffs
At a glance, both methods get a sticker from backing paper to a surface, but they get there in different ways. Fingers rely on direct pressure from your thumb or palm, which means the force isn't spread evenly and air pockets tend to form wherever you didn't press hard enough. A squeegee replaces that uneven pressure with a flat, rigid or semi-rigid edge that glides across the sticker in one motion, pushing air and moisture toward the edges instead of trapping it in the middle. Fingers win on convenience: no tool to carry, no setup, fine for a small logo sticker on a notebook or a single label on a box. A squeegee wins on consistency and finish quality, especially once you're applying anything over a few inches wide, printed on a glossy or holographic laminate, or part of a batch where every unit needs to look the same. Rubber and silicone squeegees both outperform fingers on bubble control, but they're not interchangeable: rubber applies firmer pressure and suits thicker outdoor vinyl that needs to set fast, while silicone is softer and more forgiving on delicate clear or metallic finishes where a firmer edge could leave drag marks. If you only apply stickers occasionally, fingers will get the job done. If you're applying stickers regularly or care about a flawless finish, keeping a squeegee in your kit is worth the few dollars it costs.
Squeegee vs Fingers: Quick Comparison
Here's how the common application methods stack up across air bubble risk, scratch risk, and cost.
| Method | Best For | Air Bubble Risk | Scratch Risk |
|---|---|---|---|
Felt-Edge Squeegee | Die-cut vinyl stickers, stickers, large formats | Low | Very Low |
Rubber Squeegee | Bumper stickers, outdoor vinyl, car stickers | Low | Low |
Silicone Squeegee | Clear stickers, holographic and metallic finishes | Very Low | Very Low |
Fingers or Thumb | Small stickers, quick single applications | High | Medium to High |
Credit Card (DIY) | Small to medium stickers, travel use | Medium | Medium |
Sticker Application Tools: Your Questions Answered
- What is a squeegee, and do I actually need one to apply stickers?
- A squeegee is a flat-edged tool, usually made of felt, rubber, or silicone, used to press a sticker onto a surface while pushing air and moisture out from underneath. You don't strictly need one for a small 2x2 inch laptop sticker, but for larger stickers, a squeegee gives far more even pressure than a thumb and dramatically reduces bubbling.
- What is a good alternative to a squeegee if I don't own one?
- An expired gift card, old credit card, or even a flat plastic ruler works as a DIY substitute. Wrap it in a soft cloth to avoid scratching glossy finishes, and use the same technique: start from the center and push outward. It won't glide as smoothly as a felt-edge squeegee, but it's a solid stand-in for a single sticker or two.
- Does heat make stickers stick better during application?
- Yes, mild heat from a hair dryer on low setting (held 6 to 8 inches away) softens the adhesive layer and helps vinyl stickers conform to curved or textured surfaces like water bottles, helmets, or car panels. It's especially useful for large vinyl stickers that need to wrap around a bumper or laptop lid. Avoid high heat directly on the print, since it can distort colors or warp the laminate.
- Will using my fingers scratch or damage a glossy sticker?
- It can. Fingernails and rings are the most common cause of preventing application scratches gone wrong, since they can dig into glossy laminate before the adhesive sets. If you're applying by hand, use the flat pad of your thumb, work slowly, and avoid dragging across the surface. For anything with a mirrored or holographic finish, a squeegee is the safer choice.
- Do I need special tools for clear stickers, or is a squeegee enough?
- A squeegee is typically all you need to apply stickers smoothly. Using a felt-edge or silicone squeegee helps press the sticker onto the surface while reducing air bubbles and wrinkles. For the best results, start at one edge and work slowly across the sticker, applying even pressure as you go. Smaller stickers can often be applied by hand, while a squeegee is especially helpful for larger designs.
Stickers Worth Applying the Right Way
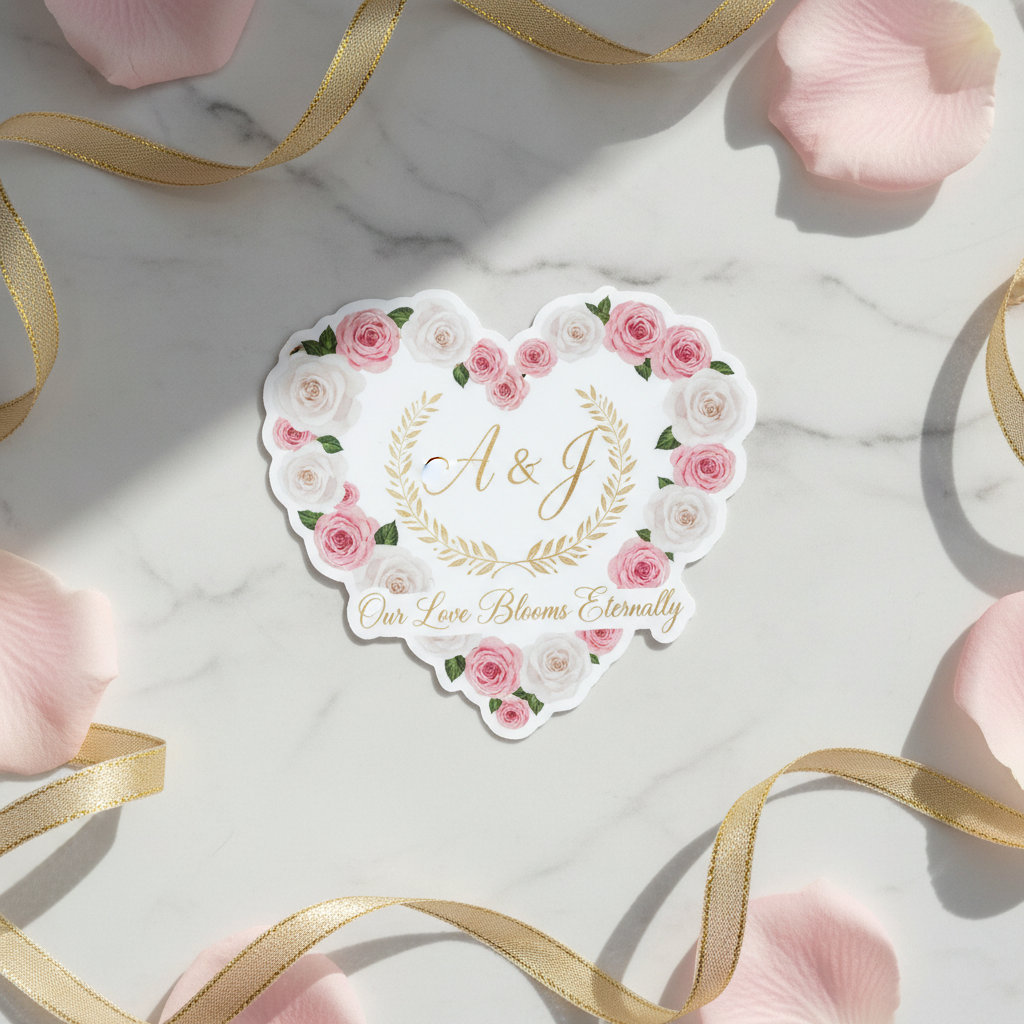
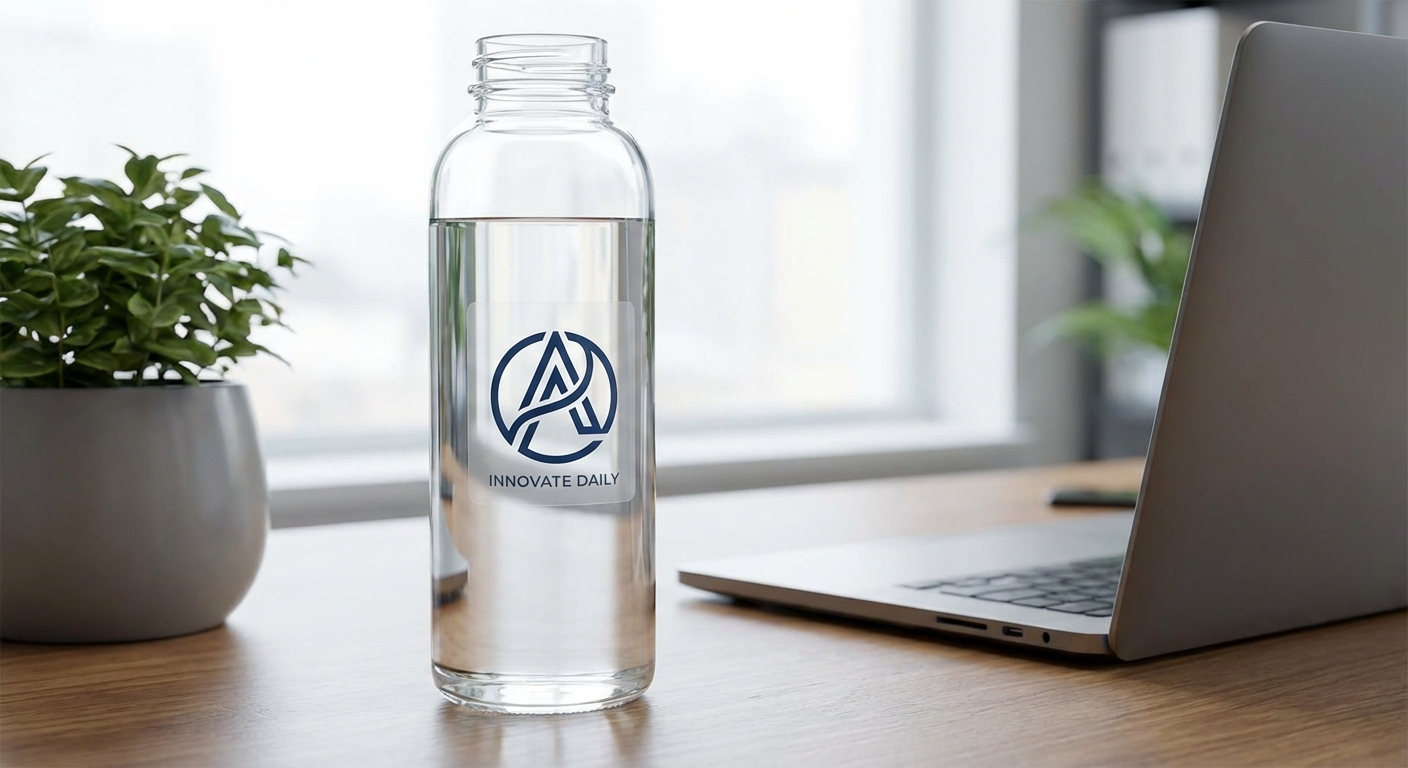
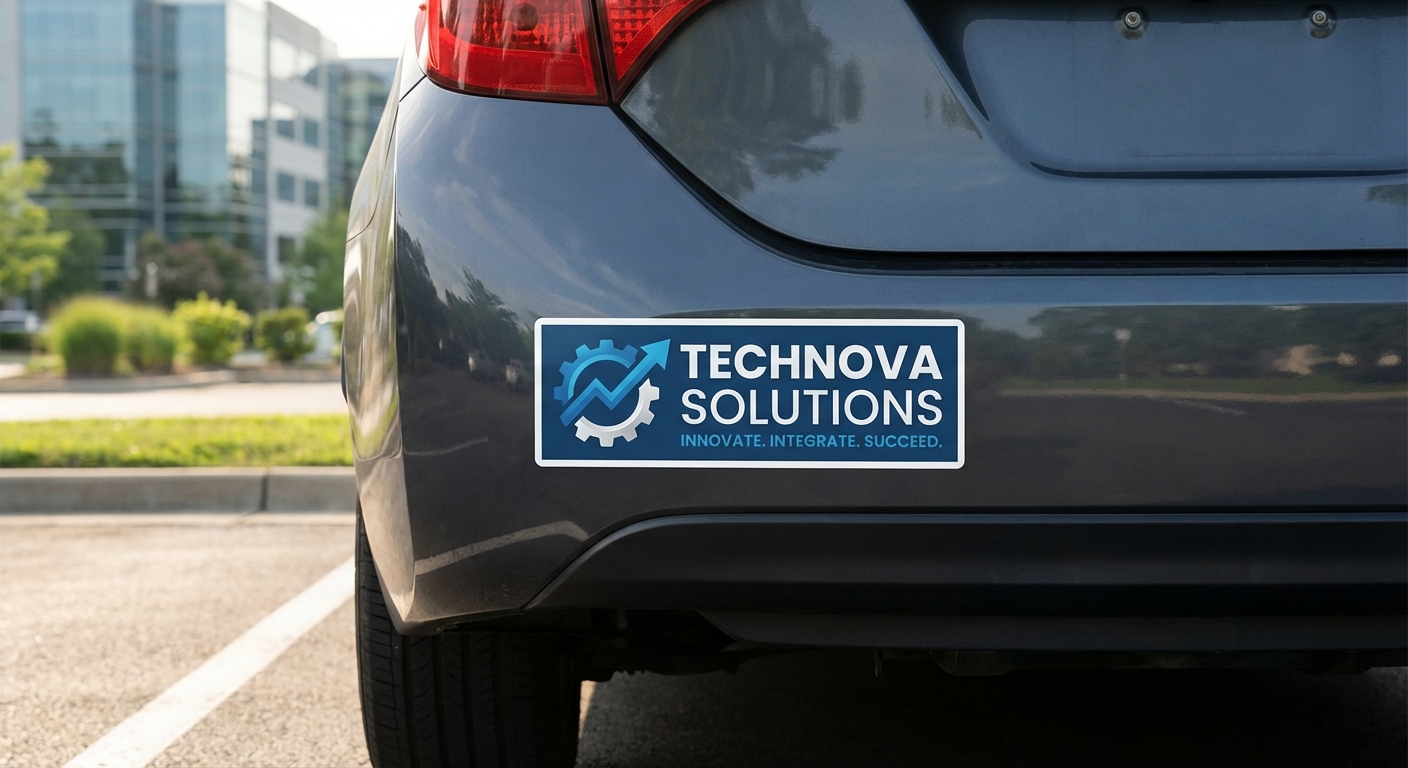
Whichever application tool you choose, the sticker itself needs to hold up to real-world use. Here are a few popular options to practice your squeegee or hand-application technique on.

Ready to Apply Your Stickers the Right Way?
Order custom vinyl stickers printed on durable, UV-protected material in the finish and cut style that fits your project. Standard production ships in 3 business days, with rush options if you need it faster.