A Step-by-Step Guide to Bubble-Free Sticker Application
Air bubbles are the most common complaint after applying stickers, but they are almost entirely preventable. This guide covers exactly how to apply stickers without bubbles, from surface prep through final smoothing, so your custom stickers go down clean and stay that way.
Why Stickers Get Bubbles (and Why It Is Easy to Prevent)
The adhesive on a vinyl sticker bonds on contact. Once a section of the sticker touches the surface, that portion is committed. If air is present underneath any part of the sticker when contact is made, it gets sealed in. The key is to prevent air from getting trapped in the first place by applying the sticker progressively from one edge rather than pressing the whole thing down at once.
Dirt, dust, oil, and moisture all reduce adhesion and create pockets where the adhesive cannot make full contact. Even fingerprints on a glass surface can cause small bubbles. This is why surface prep is the most important step in bubble-free sticker installation, and it costs nothing except a few minutes of time.
For a more detailed walkthrough of the full installation process, the sticker installation guide on the Stickers.com blog covers each step with specific tips for different surface types.
Step-by-Step: How to Apply Stickers Without Bubbles
Wipe the application area with isopropyl alcohol (70% or higher) and a lint-free cloth. Let it dry completely. Do not use household cleaners that leave a residue. For glass surfaces, a second wipe with a clean dry cloth removes streaks.
Apply stickers at room temperature or in mild outdoor conditions. Cold adhesive does not bond well. If the surface has been sitting in direct sun, let it cool before applying.
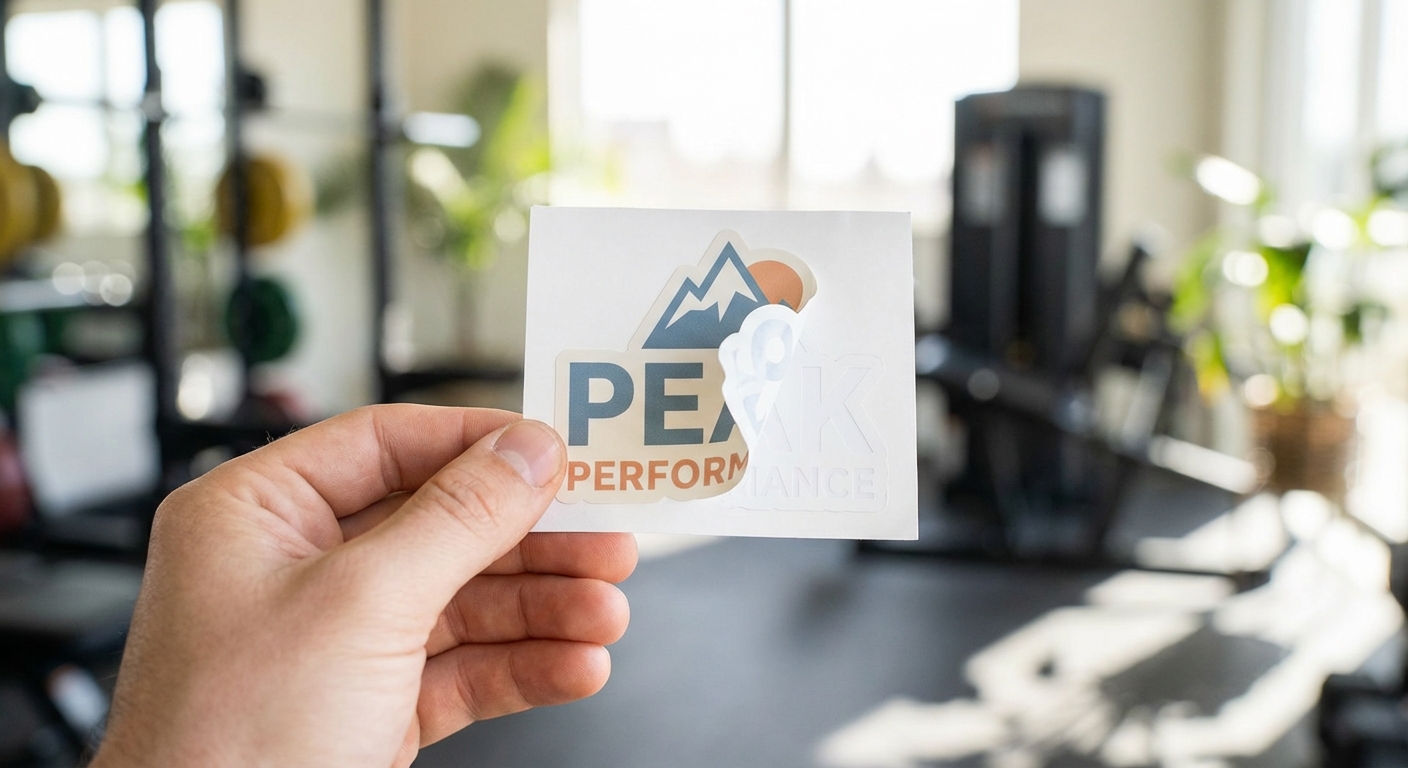
Peel the backing paper away at a low angle, not straight up. If the sticker has transfer tape on top, keep the transfer tape in place and only remove the backing liner.
Hold the sticker above the surface and align it visually before making contact. For precise placement, use small pieces of masking tape as alignment guides on either side, or use the hinge method: tape one edge of the sticker to the surface with painter's tape, fold the sticker back, remove the backing, then let it fall into position.
Starting at one side or corner, press the sticker down gradually while pulling the backing away. Do not let the sticker slap down flat. A slow, controlled edge-to-edge application is what prevents air from getting trapped.
Using a credit card, squeegee, or your thumb, press firmly from the center outward toward each edge. Overlapping strokes work better than one pass. Apply real pressure. Light touching does not remove trapped air.
If your sticker uses transfer tape, pull it back at a low angle, not straight up. If any part of the sticker lifts with the tape, lay the tape back down, rub that section again, and try again slowly.
Inspect for any remaining bubbles. Small ones near an edge can be pushed out by pressing toward the edge. Bubbles in the middle of the sticker can be punctured with a pin and pressed flat. Let the sticker sit undisturbed for at least 24 hours before washing or handling.
Common Sticker Application Mistakes to Avoid
Skipping surface cleaning. Even a surface that looks clean has oils from handling and microscopic dust. A quick wipe with isopropyl alcohol takes 30 seconds and removes the leading cause of bubbles and edge lifting.
Applying in high humidity or to a wet surface. Water prevents adhesive from bonding properly and creates large, persistent bubbles. Always ensure the surface is completely dry.
Pressing the entire sticker down at once. This traps air under the middle of the sticker with nowhere to escape. Always apply from one edge progressively.
Not using enough pressure. A light touch during smoothing leaves air pockets that were almost there but not quite bonded. Firm, overlapping strokes with a squeegee or card make the difference.
Stretching the sticker during application. Pulling vinyl while applying it distorts the adhesive layer and can create uneven contact. Keep tension minimal and let the sticker conform naturally.
Applying to a textured or porous surface without adjustment. Brick, rough concrete, and heavily textured painted walls are not ideal for standard vinyl stickers. For those surfaces, a heavier adhesive or a different mounting solution is usually a better fit.
For a deeper look at how different sticker formats handle installation, the comparison between die-cut and kiss-cut stickers explains how the cut type affects the peeling and application process.
Vinyl Material Comparison: Air Release and Durability
| Feature | Economy Vinyl | Standard Vinyl | Premium Vinyl |
|---|---|---|---|
Air Release Technology | No | Yes | Yes |
Outdoor Durability | 3-5 years (with care) | 3-5 years | Up to 8 years |
UV Protection | Yes (clear laminate) | Yes | Yes |
Scratch Protection (standard) | Yes (clear laminate) | Yes | Yes |
Moisture Resistance | Yes | Yes | Yes |
Best For | Laptops, water bottles, indoor novelty use | Outdoor signs, car stickers | Vehicles, boats, contoured surfaces, long-term outdoor use |
Bubble Prevention Ease | Moderate | High | High |
Common Questions About Bubble-Free Sticker Application
- Why do stickers get bubbles when applied?
- Bubbles form when air gets trapped between the sticker's adhesive and the surface during application. The most frequent causes are applying stickers to dirty or oily surfaces, pressing the sticker down all at once instead of working from one edge, and skipping the squeegee step. Uneven or textured surfaces also make bubble-free application harder without the right technique.
- Do I need special tools to apply vinyl stickers without bubbles?
- You do not need a professional kit. A clean microfiber cloth, isopropyl alcohol, and a firm flat tool like a credit card or dedicated squeegee are all you need for most sticker applications. For larger vinyl stickers or window stickers, a proper plastic squeegee makes a noticeable difference.
- How do I fix air bubbles in stickers after they are already applied?
- Small bubbles can often be pushed out to the nearest edge using your fingernail or the flat edge of a credit card. For stubborn bubbles, use a straight pin or sewing needle to make a tiny puncture in the center of the bubble, then press the air out and smooth the surface flat. The puncture is nearly invisible on most vinyl stickers.
- What surfaces work best for bubble-free sticker application?
- Smooth, flat, clean surfaces give the best results. Glass, painted metal, hard plastic, and powder-coated surfaces all hold stickers well. Porous, rough, or heavily textured surfaces trap air more easily and are harder to apply to without bubbles. Always clean and dry the surface completely before applying any sticker.
- Does the type of vinyl material affect how easily bubbles form?
- Yes. Standard Vinyl and Premium Vinyl from Stickers.com both include air release technology, which uses a micro-channel pattern on the adhesive to let trapped air escape during application. Economy Vinyl does not include this feature, making careful technique more important for those stickers. For large stickers or curved surfaces, upgrading to Standard or Premium Vinyl is worth the investment.
- Can I apply stickers in cold or hot weather without getting bubbles?
- Extreme temperatures affect adhesive performance. Below about 50 degrees Fahrenheit, vinyl adhesives stiffen and bond less effectively, increasing the chance of bubbles and lifting edges. Above 100 degrees Fahrenheit, adhesive can become too tacky and make repositioning impossible. For outdoor installs, aim for a temperature range of 60 to 90 degrees Fahrenheit for the cleanest application.
- How long should I wait before touching or cleaning a newly applied sticker?
- Give a freshly applied sticker at least 24 hours before exposing it to water, cleaning products, or direct abrasion. Full adhesive cure on outdoor vinyl typically takes 48 to 72 hours. Rushing this window increases the chance of edge lifting and bubble formation after application.