A practical guide to applying custom mirror stickers cleanly, with no bubbles, no cracked glass, and no ruined artwork.
Mirrors are smooth, unforgiving surfaces. One wrong move with a sticker and you've got trapped air, a crooked logo, or adhesive residue that won't budge. Custom mirror stickers are easy to apply correctly once you know the material, the prep steps, and the right technique. This guide covers how to choose the right mirror vinyl sticker, prep your mirror surface, and apply stickers for mirrors so they lay flat and last.
How to Apply Custom Mirror Stickers Step by Step
Choosing the Right Material and Finish for Stickers on Mirrors
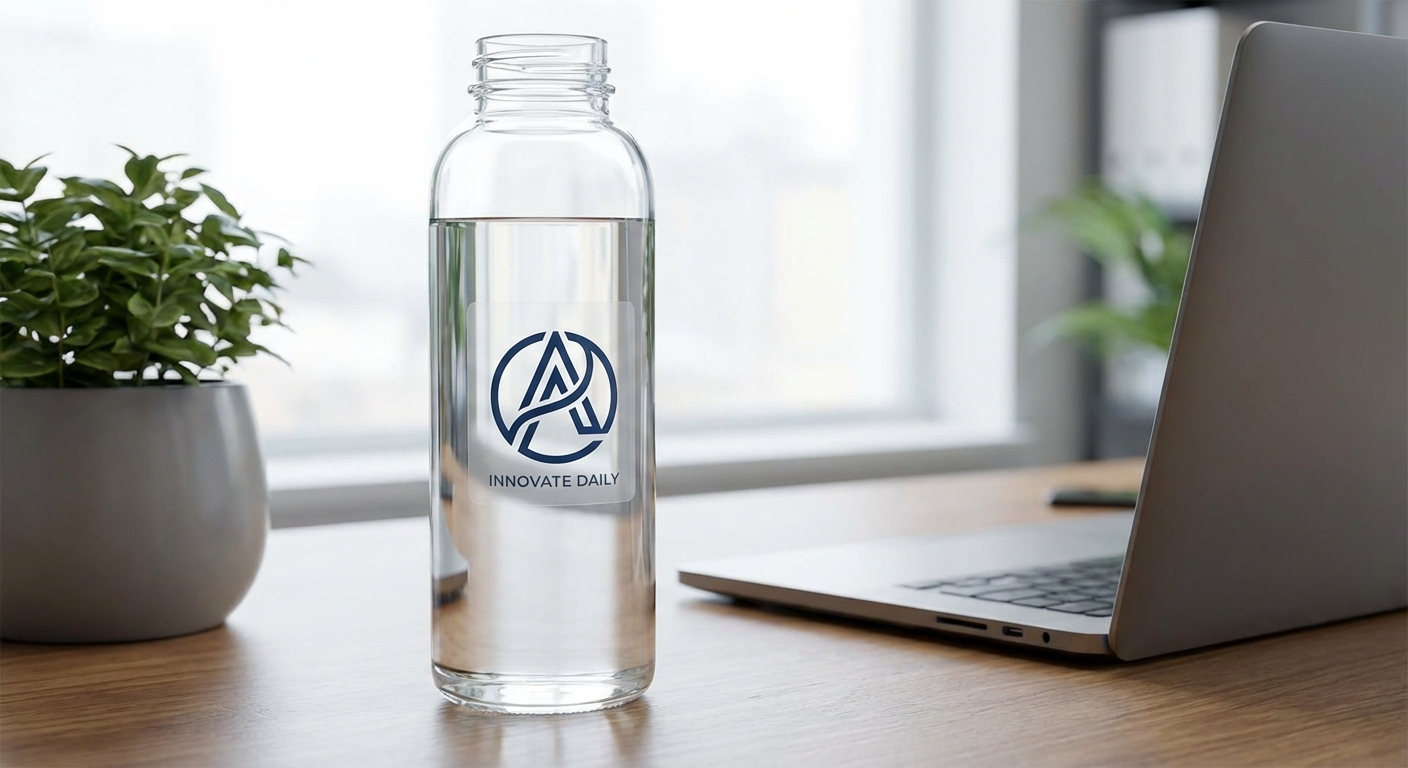
For designs meant to blend into the reflection itself rather than cover it, clear stickers are a better fit since the transparent base lets the mirror show through around your printed elements. Holographic and metallic finishes work well for decorative vanity mirrors or product display mirrors where you want shimmer or shine rather than a flat print.
If you're covering a large mirror panel, storefront glass, or a full wall mirror with branding, check out options built for large vinyl stickers so the proportions and material hold up at scale. And if you're specifically shopping for stickers sized and finished for glass and mirror surfaces, our mirror stickers use case page breaks down common sizing and placement scenarios by industry.
Which Sticker Type Works Best for Mirrors?
| Sticker Type | Best Use on Mirrors | Finish Options | Typical Durability |
|---|---|---|---|
Die-Cut Vinyl Stickers | Logos, shapes, standalone decorative stickers | Glossy, Matte | 3 to 5 years |
Clear Stickers | Designs that blend with the mirror's reflection | Transparent | 3 to 5 years |
Holographic | Vanity mirrors, product display accents | Holographic | 3 to 5 years |
Custom Cut Sticker Sheets | Multiple small stickers cut from one sheet | Glossy, Matte | 3 to 5 years |
Mirror Sticker Questions, Answered
- What's the best material for custom mirror stickers that won't damage the glass?
- Vinyl is the standard choice for mirror surfaces because it's thin, flexible, and removable without leaving scratches when applied and peeled correctly. Standard Vinyl offers UV and moisture-resistant lamination with a 3 to 5 year lifespan, while Premium Vinyl pushes that to 8 years for stickers that will live in bathrooms or humid spaces. Economy Vinyl works fine for decorative, lower-traffic mirrors like vanity or craft projects. None of these materials etch or stain glass when applied properly.
- What size mirror sticker should I order for a bathroom, vanity, or car mirror?
- Custom mirror stickers can be ordered anywhere from 2 inches by 2 inches up to much larger formats for full bathroom mirrors or storefront glass. For small vanity accents or car visor mirrors, 2 to 4 inch designs are common. For a full bathroom mirror statement piece or business logo, sizes up to 12 inches by 12 inches (or larger on request) give you room for bold, legible artwork.
- Can I upload my own artwork, or do I need a template to make custom mirror stickers?
- You can upload your own design file directly, no template required. For best results, submit artwork at the actual print size with transparent backgrounds (PNG or vector files work well) so the die-cut or kiss-cut shape follows your outline precisely. If you're designing from scratch, keep text and fine details at least a quarter inch from any cut edge so nothing gets trimmed during production.
- How much do custom mirror stickers cost, and is there a bulk discount?
- Pricing depends on size, material, and quantity. A single custom sticker for personal use costs more per unit than ordering in volume. Orders of 50 or more unlock tiered bulk pricing, which is common for businesses labeling retail mirrors, salons branding multiple stations, or schools and teams ordering matching stickers for lockers and equipment.
- How do I clean and care for stickers on a mirror after they're applied?
- Wipe around the sticker with a damp, non-abrasive cloth rather than spraying glass cleaner directly onto the edges, since ammonia-based cleaners can weaken adhesive over time. Avoid scraping with razor blades near the sticker's edge. If you ever need to remove or reposition it, warming the vinyl slightly with a hairdryer loosens the adhesive without cracking the sticker, similar to the technique used when removing a laptop sticker.