
Keep your artwork sharp, proportional, and print-ready at any size
If you've ever stretched a logo to fit a bigger sticker and watched it turn into a smudged oval, you already know why resizing matters. Learning to resize a sticker design without distortion means more than dragging a corner handle. It requires locking your aspect ratio, starting from the right file type, and understanding how scale affects print quality. This guide walks through the methods that keep your sticker width and height ratio intact, whether you're sizing a single die-cut sticker or prepping a batch of labels for a product line.
Common Questions About Resizing Sticker Designs
- What does it mean to resize a sticker design without distortion?
- It means changing the overall dimensions of your artwork while keeping the width and height proportional to the original. If your logo starts as a square, it should still look square after resizing, not stretched into a rectangle. The goal is to scale the whole image uniformly so shapes, text, and spacing stay accurate.
- Can I just drag the corner of my image to resize it?
- Dragging only one side handle stretches the image unevenly and causes distortion. Always drag from a corner handle while holding Shift (in most design software) to lock the aspect ratio, or type exact proportional dimensions into the width and height fields.
- Does the file type affect how well my design resizes?
- Yes. Vector files (AI, EPS, SVG) scale to any size with no quality loss because they're built from mathematical paths rather than pixels. Raster files (JPG, PNG) have a fixed pixel count, so scaling them up too far makes edges blurry or pixelated. If you're building a logo for printing, starting in vector format is the safest way to resize sticker artwork at any scale.
- What's the best way to resize a logo for a sticker order?
- Open the logo in its original vector file if you have one, lock the aspect ratio, and scale to your target sticker size. If you only have a low-resolution raster version, our logo design service can rebuild it as a clean vector file so it holds up at any print size, from a small 2 inch die-cut to a large vehicle decal.
- How do I know what sticker width and height ratio to use?
- Measure your original design's width and height and divide one by the other to get your ratio (for example, 4 inches wide by 3 inches tall is a 4:3 ratio). Keep that same ratio when you order a larger or smaller size. Most of our sticker products, including Die-Cut Stickers and Custom Vinyl Stickers, let you enter custom dimensions, so matching your original ratio is straightforward.
- Will resizing my artwork change the final sticker price?
- Yes, sticker pricing is tied to size and quantity. Larger dimensions use more material and typically cost more per unit, though ordering in bulk (50 or more) brings the per-sticker price down through tiered pricing. Resizing proportionally doesn't add cost on its own, it's the final square footage that affects price.
- What happens if I upload a low-resolution image and try to make it bigger?
- Stretching a low-resolution raster image beyond its native size causes pixelation, soft edges, and visible blur once printed. We recommend starting with artwork at 300 DPI or higher at your intended print size, or switching to a vector file. If your design shows warning signs of low resolution during upload, it's worth revisiting the source file before placing an order.
Why Aspect Ratio Is the Key to Distortion-Free Resizing
Vector vs. Raster: Choosing the Right File for Scaling
Step-by-Step: Resizing a Sticker Design the Right Way
Resizing Methods Compared
Not every resizing method produces the same results. Here's how the most common approaches stack up when you're trying to scale a custom sticker design cleanly.
| Method | Best For | Distortion Risk | Notes |
|---|---|---|---|
| Proportional scaling (locked ratio) | Logos, text, full designs | Low | Keeps width and height tied together automatically |
| Vector rescaling | Any size change, including large format | Very Low | No pixel loss at any dimension, ideal for repeat orders |
| Free transform (unlocked ratio) | Not recommended for sticker artwork | High | Stretches width or height independently, causes warping |
| AI upscaling software | Enlarging low-resolution raster images | Moderate | Can sharpen edges but may introduce artifacts on fine text |
Common Mistakes to Avoid When Resizing Sticker Artwork
Sticker Products Built for Properly Scaled Artwork
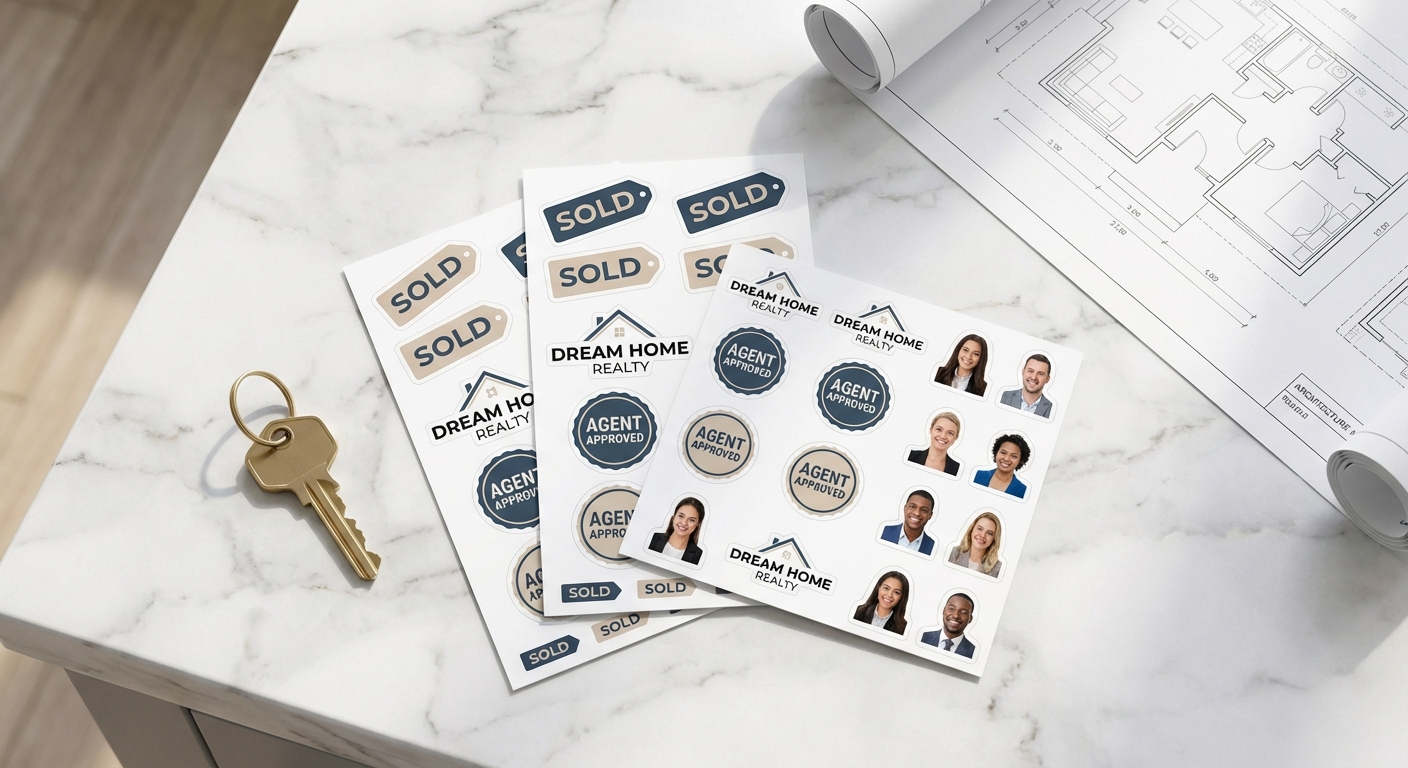
Once your design is resized correctly, these are the sticker formats most customers use to bring it to life, from single die-cut shapes to full sheets of labels.
Ready to Print Your Resized Sticker Design?
Upload your artwork, choose your size and material, and we'll produce it in as few as 1 business day. If your logo needs a resolution-safe resize first, our design team can rebuild it as a scalable vector file before it goes to print.
Start Your Custom Sticker Order